
A well-designed breakroom micro market is a welcoming, easy-to-navigate retail experience that increases convenience and supports employee wellness. Getting there means confirming the right zoning, a planogram that matches real demand, the power and water lines equipment needs, and an ADA check before anyone signs off on fixtures. Skip any one of those and you end up retrofitting a market that should have worked the first time.
TL;DR:
- Ensuring utility support, ADA compliance, and proper zoning during the site survey prevents costly retrofits and delays after installation.
- A three-zone layout of explore, prep, and enjoy optimizes flow, with aisle widths and fixture placement supporting easy navigation and sales.
- Planogram decisions should be based on actual sales data, allocating shelf space proportionally to category performance and reviewing every four months.
- Regular remote monitoring, clear responsibilities, and KPI tracking help maintain high stock levels and operational efficiency over time.
- Managed micro markets, like Jeeves Vending’s full-service program, reduce operational burdens by handling stocking, equipment, and maintenance at no upfront cost.
Table of Contents
- Quick design checklist for your first site survey
- How zoning and layout prevent bottlenecks
- Building a planogram that matches how people actually shop
- Equipment, power and utility checklist
- ADA and safety requirements you cannot skip
- Choosing finishes that hold up over years, not months
- Running the market: restocking, monitoring and service agreements
- Measuring whether the design actually worked
- What managed micro markets look like in practice
- Why breakroom design is a workplace investment, not a cost center
- A turnkey option for facilities teams that want this handled
- Sources
- FAQ
Quick design checklist for your first site survey
Before you brief a contractor or vendor, walk the space with this list. It catches the issues that cause change orders later.
- Confirm the footprint, entry points and sight-lines so shoppers can see the full market from the doorway.
- Check power, data and plumbing availability at each proposed fixture location, including ceiling height for signage or lighting.
- Map the zoning into explore, prep and enjoy areas before ordering any shelving.
- Set initial SKU and planogram targets along with a refresh cadence you can actually staff.
- Identify stakeholder signoffs (facilities, safety, IT, finance) and build a realistic brief timeline around them.
Most delays trace back to skipped items on this list, not bad design decisions. A vendor coordinating the micro market setup can run this survey with you, which shortens the gap between approval and opening day.
How zoning and layout prevent bottlenecks
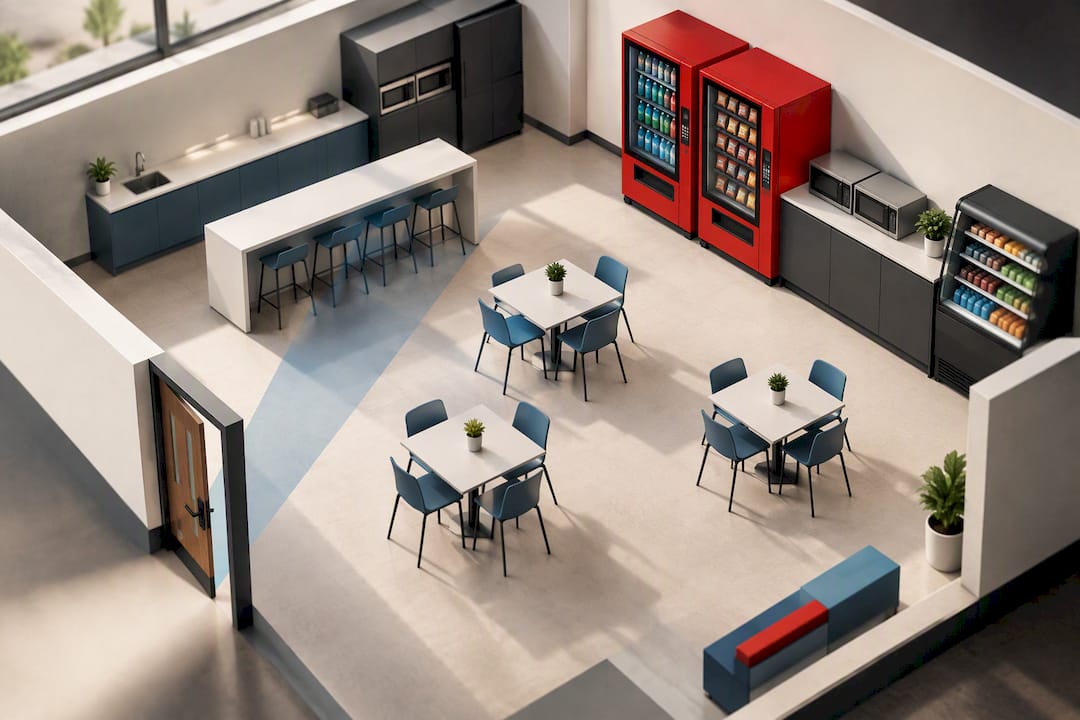
Micro markets work best when they mirror small retail, not a hallway of vending machines. Operators who study successful installs consistently point to a three-zone structure: explore, prep and enjoy. Explore is the browsing zone near the entrance where shelving and coolers invite a slow walk-through. Prep covers coffee, microwaves and condiments. Enjoy is seating, ideally away from the kiosk so paying customers do not block browsers.
Footprint dictates fixture count. A small breakroom might fit one cooler bank, one snack shelf run and a compact kiosk. A medium space can support a dedicated coffee station separate from the checkout. Larger markets can add a second cooler for fresh food and a communal table zone.
- Keep primary aisles at least 42 inches wide so two people can pass without turning sideways.
- Leave 36 inches of clear queuing space in front of the kiosk to avoid a line spilling into the aisle.
- Place coffee next to pastries and grab-and-go breakfast items, since adjacency between complementary categories drives companion purchases.
- Put chilled fresh items at eye level, where they get noticed before they expire.
- If you are converting an old vending bank, strip the machines back to bare wall and treat the space as a blank retail footprint rather than trying to build shelving around fixed vending footprints.
Before finalizing anything, walk the site again and note door swings, alarm panel locations, ceiling height for any hanging signage and existing data ports. Those constraints decide where the kiosk and coolers can actually go.
Pro Tip: Stand at the doorway and time how long it takes to see every fixture in the room. If it takes more than a few seconds of head-turning, the layout needs simplifying.
Building a planogram that matches how people actually shop
A planogram is the plan for what goes where, and it should be based on category performance rather than guesswork. Operators recommend allocating snack shelf space in rough proportion to category sales, for example salty snacks around 33% and candy around 28% of shelf space in a typical micro market layout. Fresh food, beverages and healthy options get their own allocation based on cooler capacity rather than dry shelf percentages.
- Aim for 70% to 80% core SKUs that stay on the planogram long-term, with the remainder rotating in new or seasonal items, a split planogram research supports.
- Use shelf depth of at least 14 inches where the fixture allows, since deeper shelves reduce the empty look that comes from thin facings.
- Face products fully forward so shelves look stocked even when quantities are moderate, which reduces the perception of a picked-over market.
- Keep pricing visible on shelf tags even when the kiosk drives the final transaction, since shoppers still want to see cost before they commit to an item.
- Schedule the first planogram review about six weeks after opening, then refresh at least every four months to keep the assortment feeling current.
That six-week checkpoint matters more than people expect. Early sales data almost always reveals a mismatch between what you stocked and what the specific workforce actually buys.
Equipment, power and utility checklist
Fixtures only work if the building can support them. Before ordering anything, confirm these utility items with whoever manages the space.
- Dedicated circuits for the kiosk, refrigeration units, coffee brewer and microwave, since running all four off one circuit trips breakers during peak breaks.
- Refrigeration clearance of several inches on all sides so compressors can vent properly, plus auto-locking coolers for any fresh food that needs temperature control.
- Kiosk placement with a clear sightline from the entrance and enough queuing space that a line does not block browsing aisles.
- Contractor involvement for any circuit addition or plumbing tie-in, since most micro markets need at least one electrician visit even when the space seems ready.
- Service access clearance behind coolers and around the kiosk so technicians can restock or repair without moving furniture.
Coffee and fresh food equipment tend to be the items that get underestimated during planning, since they need both power and drainage in ways snack shelving does not. Reviewing fresh food and coffee equipment options early avoids a second round of electrical work after install.
ADA and safety requirements you cannot skip
Accessibility is not optional, and getting it wrong after installation is expensive to fix. ADA guidance sets specific reach ranges for anything customers operate themselves.
- Operable parts like kiosk screens, payment terminals and cooler handles must fall within a reach range of 15 to 48 inches from the floor, per ADA dining and food service guidance.
- Maintain clear floor space in front of every self-service fixture so a wheelchair user can approach and operate it without obstruction.
- Checkout counters need an accessible section with adequate knee and toe clearance underneath, not just a lowered shelf on top.
- Keep at least 30 inches of clear workspace in front of electrical panels and equipment, a clearance OSHA guidance treats as standard practice for safe servicing.
- Fresh food coolers need consistent temperature control and locking mechanisms to prevent spoilage and unauthorized access.
Choosing finishes that hold up over years, not months
Micro markets get heavy daily traffic, and cheap fixtures show wear within months. USDA facility design guidance frames food-related spaces as long-term investments that move through schematic design, design development, construction documents and construction administration, which is a useful discipline even for a breakroom-scale project.
- Steel shelving and countertops resist dents and stains better than wood, though wood finishes read as warmer and can work well in enjoy zones away from spill risk.
- Choose easy-clean, nonporous surfaces for any counter near food prep, and consider anti-microbial coatings for high-touch spots like kiosk screens and door handles.
- Design fixture placement with maintenance in mind, leaving room to pull coolers forward or access the kiosk’s internal components without disassembling shelving.
- Spending more upfront on durable fixtures usually costs less over a three-to-five-year window than replacing budget shelving twice in that span.
Running the market: restocking, monitoring and service agreements
Design sets the stage, but daily operations decide whether the market stays useful. Restocking cadence should scale with headcount and SKU count. A market serving a few dozen employees with a lean SKU count might need two visits a week, while a larger population with a full assortment often needs three or more.
- Request remote inventory monitoring so stockouts get flagged before they happen rather than after complaints start.
- Split responsibilities clearly: the operator handles restocking, spoilage checks and cash or kiosk reconciliation, while facilities handles utility issues, space changes and access scheduling.
- Track uptime, stockout frequency, revenue per employee and the uptake rate of healthy SKUs as your core operating metrics.
- Set service-level expectations in writing, including response time for equipment issues and a monthly or quarterly review meeting with the operator.
A market with regular remote monitoring catches low-stock conditions before employees notice empty shelves, according to operator reporting on micro market design, which ties consistent shelf availability directly to repeat purchases. A managed kiosk model can shift most of this monitoring workload off facilities staff entirely.
Measuring whether the design actually worked
Good design shows up in numbers within weeks, not months. Transactions per employee, average basket size and SKU sell-through rate are the three numbers that tell you fastest whether the layout and assortment are working.
- Run a two-week baseline immediately after opening, then compare against a three-month follow-up to see whether early patterns hold.
- Send a short employee survey asking whether the market feels convenient and whether healthy options are easy to find, since perception matters as much as raw sales data.
- Test one variable at a time, such as adding LED accent lighting to a cooler or moving a healthy snack display to eye level, then compare sell-through before and after.
- Treat a flat or declining sell-through on a specific shelf as a signal to swap that placement, not a reason to add more SKUs to the same spot.
Workflow efficiency in food service settings tends to follow the same pattern seen across broader hospitality operations: small, measured adjustments beat large redesigns.
What managed micro markets look like in practice
Jeeves Vending provides state-of-the-art vending machines and custom micro markets at no cost to businesses in the Dallas-Denton region, building tailored solutions around modern kiosk and monitoring technology, as described on the Jeeves Vending site.
- Jeeves Vending works across schools, offices, hospitals and gyms, adjusting market placement to fit each breakroom’s layout and traffic patterns.
- Installations pair quality and variety with personalized service, backed by a full install process and ongoing support that keeps micro markets stocked without pulling facilities staff into daily restocking.
- A lobby-format market can run 150 to 200 SKUs when the space and traffic support it, which is a useful reference point when sizing a larger design-led lobby micro market.
The pattern across this installs is consistent: the design work described earlier in this guide (zoning, planogram, ADA clearance) only pays off when someone maintains it week after week.
Why breakroom design is a workplace investment, not a cost center
A poorly stocked, badly lit breakroom tells employees the company did not think about their day. A well-designed micro market does the opposite: it signals attention to comfort, and that shows up in engagement and retention numbers over time, not just in snack sales. My advice for any facilities team starting this project: run the site checklist, pilot one zone before committing to a full build, and set your KPIs before opening day rather than after.
— Gary
A turnkey option for facilities teams that want this handled
Running the checklist above is straightforward. Staffing the restocking, monitoring and maintenance work behind it every week is where most in-house efforts stall. Some companies install and manage custom micro markets at no cost to the host business, handling the equipment, stocking and service so facilities teams do not have to build that operation from scratch.
- Compare the workload difference: a self-managed market needs someone tracking inventory, scheduling restocks and fielding equipment issues, while a managed model shifts that load to the operator.
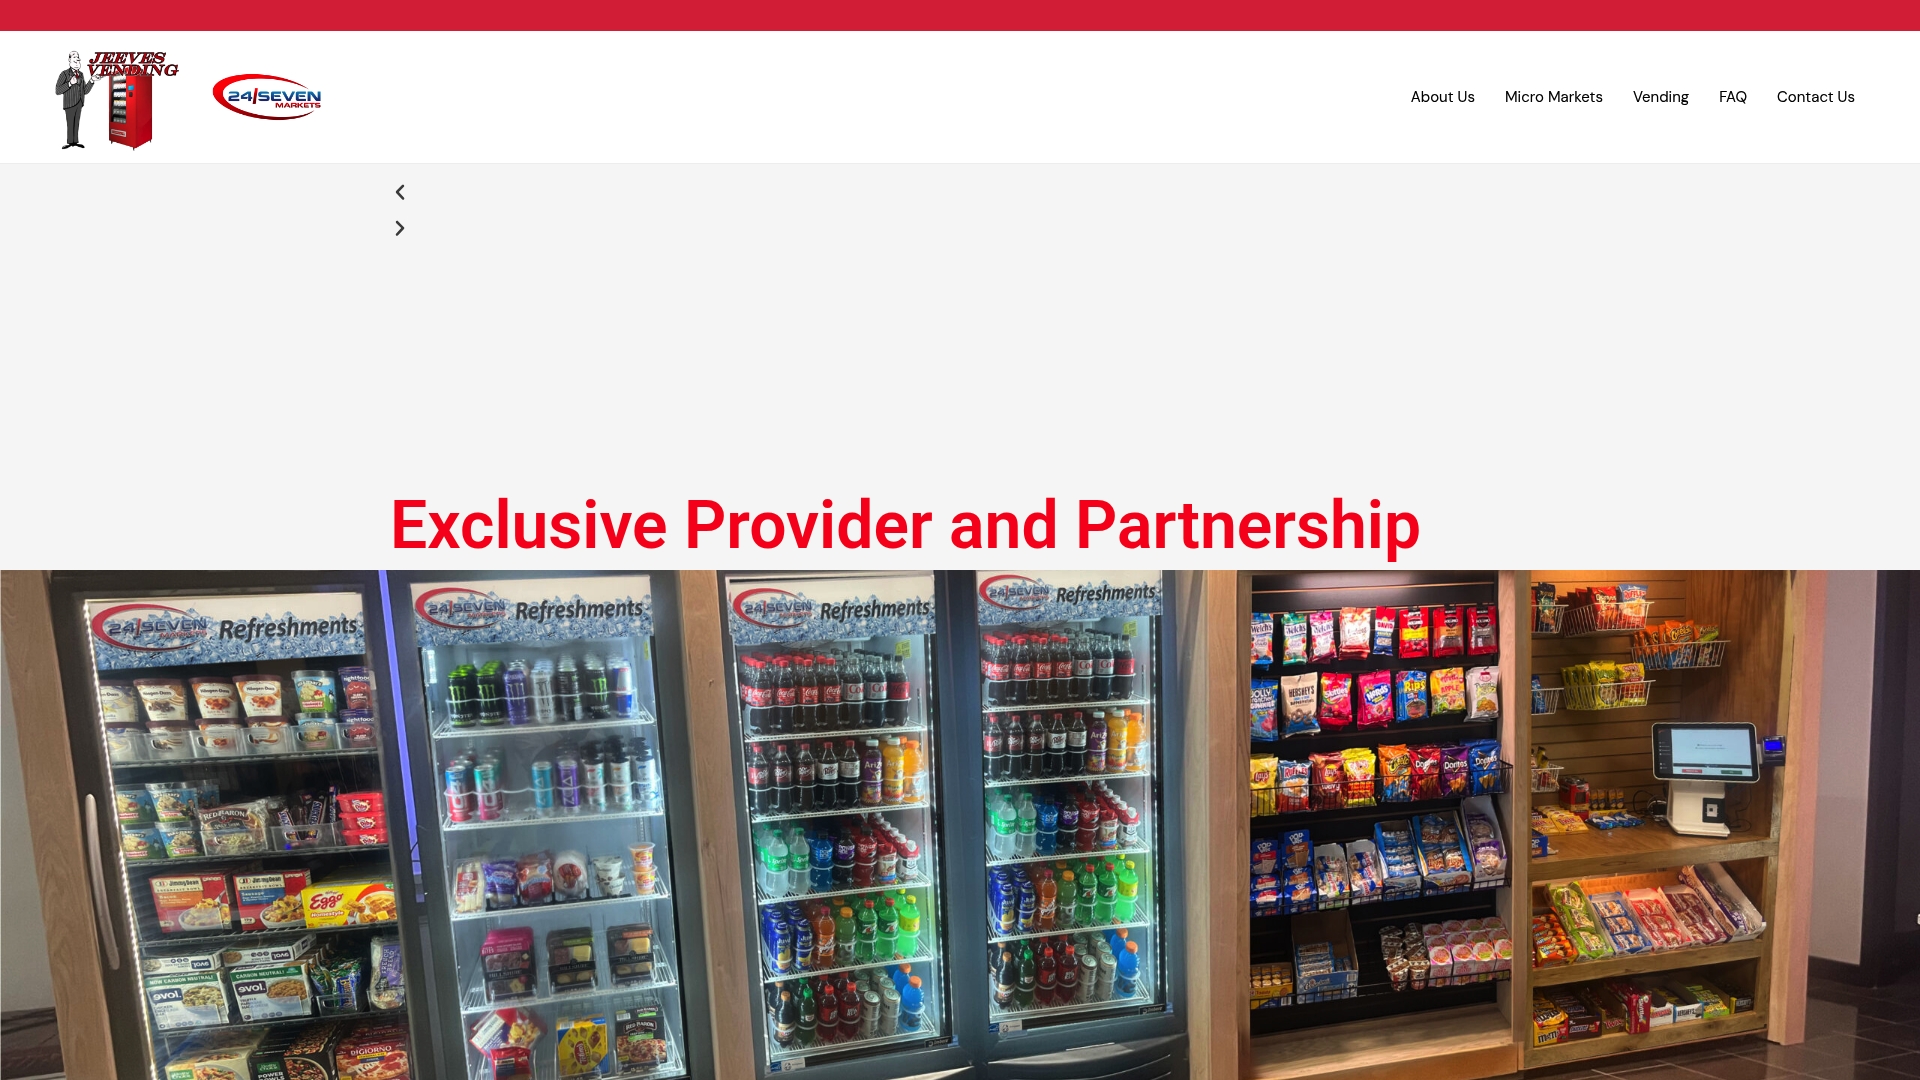
- Jeeves Vending’s Free Full Service Vending Program covers equipment and service without upfront cost to the business.
- Fresh food, coffee and healthy options can all run through the same kiosk-based micro market setup, which keeps the assortment aligned with what this guide covers on planogramming.
If your site survey turned up more work than your team can take on internally, request a walkthrough and get a specific plan for your space at Jeeves Vending.
Sources
- Operators share insights on micro market design | Vending Market Watch
- Designing Food Facilities: Optimizing Form and Function
- ADA Accessibility Guidelines: Chapter 9 — Dining and Food Service
FAQ
What size should a breakroom micro market be?
There is no fixed minimum, since layouts scale from a single cooler and shelf run up to a full lobby format with 150 to 200 SKUs depending on space and headcount, as seen in a design-led lobby micro market example. The right size depends more on employee count and traffic than square footage alone.
How often should the planogram be refreshed?
Plan an initial review about six weeks after opening, then refresh the assortment at least every four months after that, based on planogram development guidance.
What ADA rules apply to micro market kiosks?
Kiosk screens, payment terminals and cooler handles need to sit within a reach range of 15 to 48 inches from the floor, per ADA guidance on dining and food service. Clear floor space in front of each self-service fixture is also required for wheelchair access.
Does Jeeves Vending charge businesses for micro market installation?
Jeeves Vending installs custom micro markets at no cost to the host business, with revenue coming from product purchases rather than service fees, as described in its Free Full Service Vending Program. Businesses across offices, schools, hospitals and gyms can request a site walkthrough directly.
How do I know if my micro market design is working?
Track transactions per employee, average basket size and SKU sell-through rate as the fastest indicators, comparing a two-week baseline against a three-month follow-up. Pair those numbers with a short employee survey on perceived convenience and healthy-option availability for a fuller picture.