
An office vending machine setup guide is a step-by-step framework for selecting, installing, and managing vending equipment to meet employee needs and operational requirements. Getting this right matters more than most HR professionals expect. A poorly placed machine with the wrong product mix goes unused within weeks. A well-planned program, by contrast, becomes a daily touchpoint that employees genuinely value. This guide covers capacity planning, site preparation, installation logistics, and product management so you can build a program that holds up long term.
What does an office vending machine setup guide actually cover?
The core of any vending program is matching machine capacity to your workforce. The standard capacity benchmark is 0.4 daily purchases per employee. That number tells you how many product slots you need to avoid running out before your next restock.
For offices under 25 employees, a countertop unit stocked with 30–40 products covers typical daily demand. Offices with around 50 employees need full-size machines carrying 100–150 products to support weekly service intervals. Offices with more than 100 employees should plan for multiple machines or a micro-market setup with 200 or more product slots.
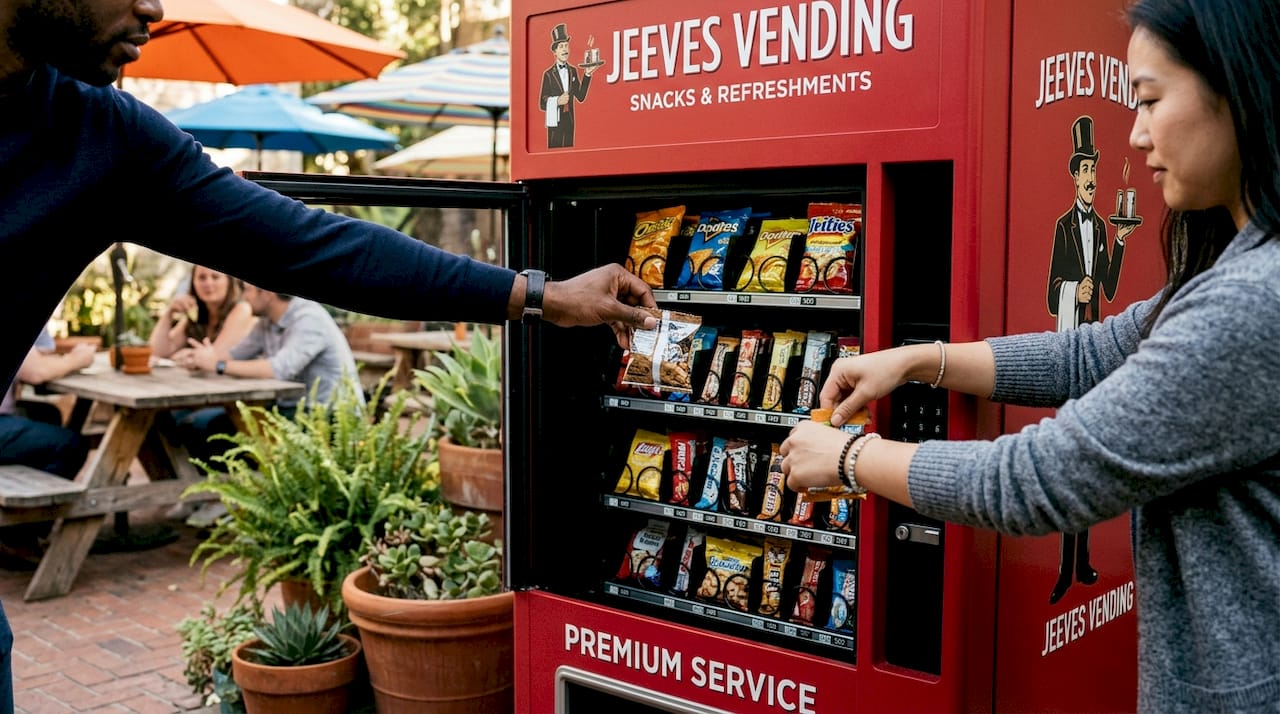
The table below maps office size to machine type and product count so you can size your program before contacting any provider.
| Office size | Recommended machine type | Suggested product count |
|---|---|---|
| Under 25 employees | Countertop unit | 30–40 products |
| 25–50 employees | Single full-size machine | 100–150 products |
| 51–100 employees | One or two full-size machines | 150–200 products |
| 100+ employees | Multiple machines or micro-market | 200+ products |
Pro Tip: Calculate your product count first, then select your machine. Buying a machine and trying to fit your needs into it afterward almost always leads to either waste or stockouts.
What site and space preparations are necessary before installation?
Site readiness is where most office managers get caught off guard. A standard vending machine requires a minimum floor footprint of 6×3 feet, plus clearance on the sides and front for service access and ADA compliance. That service clearance is not optional. Technicians need room to open the machine door fully and restock without moving the unit.
Power supply is equally non-negotiable. Most full-size machines require a dedicated 120V, 15–20A grounded circuit. Sharing a circuit with other appliances causes voltage drops that trigger error codes and shorten machine life. Have your facilities team confirm the outlet type and amperage before scheduling delivery.
Floor strength is a detail that surprises many office managers, especially in older buildings. A fully stocked vending machine weighs 600–900 pounds. That load can stress floors not designed for concentrated weight. In buildings constructed before 1980, ask your property manager or a structural engineer to confirm the floor rating before you commit to a location.
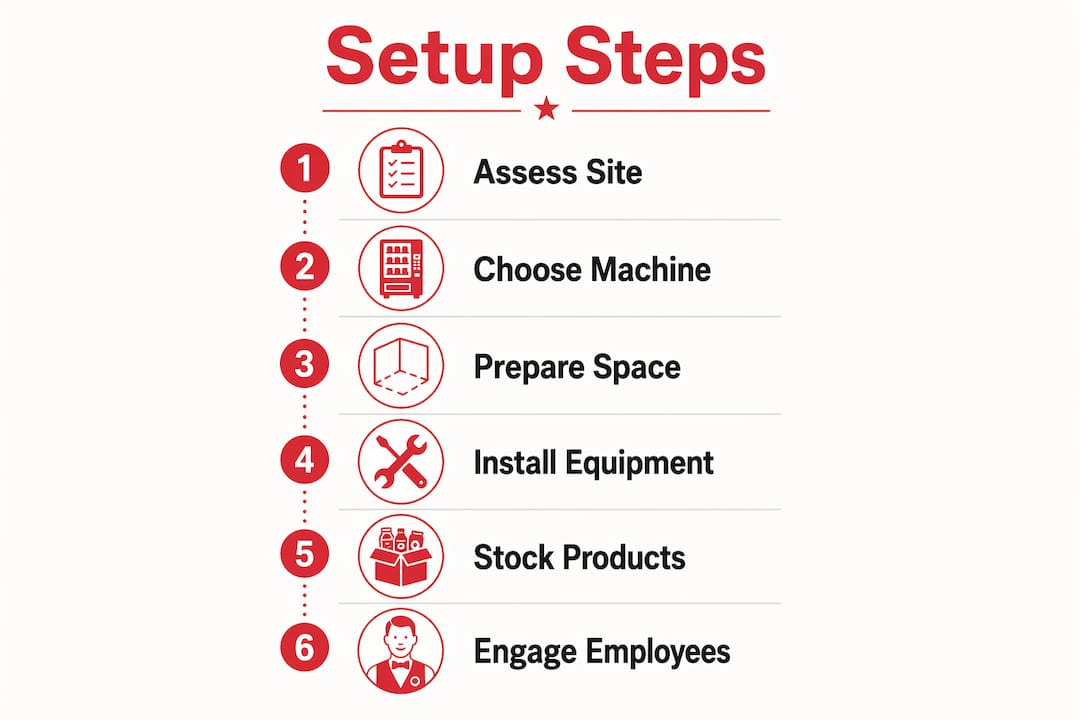
The table below summarizes the key site requirements you need to verify before installation day.
| Requirement | Specification | Notes |
|---|---|---|
| Floor space | 6×3 ft minimum | Add clearance for door swing and ADA access |
| Power supply | 120V, 15–20A grounded circuit | Dedicated circuit only |
| Floor load capacity | 600–900 lbs | Verify in older buildings |
| ADA clearance | 18 in. minimum side clearance | Required for public-facing locations |
| Property permissions | Written approval from management | Needed before delivery scheduling |
Pro Tip: Walk the full delivery route before installation day. Measure every doorway, hallway, and elevator opening. Unmeasured access routes are the single most common reason installations get delayed or canceled on the day of delivery.
How does the physical installation process work, step by step?
Professional vending machine installation takes 2–4 hours from delivery to first vend. Knowing what happens during that window helps you prepare your team and avoid disruptions.
- Confirm delivery logistics. Coordinate with your provider on truck access, loading dock availability, and the time window. Notify building security and property management in advance.
- Protect the floor during transport. Technicians use pallet jacks and floor protection boards to move the machine from the loading dock to the placement location. Clear the path of furniture, cables, and foot traffic before they arrive.
- Level and position the machine. The technician adjusts the machine’s feet until it sits level on the floor. An unlevel machine causes product to jam in the coils and can affect refrigeration performance in cooler units.
- Connect power and verify systems. The machine plugs into the dedicated grounded circuit. The technician confirms cooling is active, lighting works, and the display initializes correctly.
- Configure payment options. Modern machines accept credit cards, Apple Pay, Google Pay, and employee badge payroll deductions. Keep cash acceptance active for visitors and contractors who may not have badge access.
- Run test vends. The technician performs trial purchases across multiple product slots to confirm dispensing, payment processing, and change return all function correctly. This step catches coil misalignments and payment reader errors before employees use the machine.
- Stock the machine and brief your team. Initial stocking follows your agreed product list. Walk one or two staff members through the process for reporting jams or empty slots so issues get flagged quickly.
Many providers, including Jeevesvending, offer free setup for qualifying commercial locations. That means the installation and initial stocking cost nothing upfront, which removes a significant barrier for offices evaluating the program for the first time.
How do you optimize product selection and keep employees engaged?
Product selection is where vending programs either earn loyalty or get ignored. The recommended starting point is 5 snack units per person per week as your baseline volume target. That figure guides both your initial stock quantity and your restocking frequency.
A proven product structure uses a core assortment of 12–20 stable items paired with 4–6 rotation items that change monthly. The stable items cover the predictable demand: water, coffee, a few salty snacks, and a couple of sweet options. The rotation items keep the selection feeling fresh without overwhelming the machine with slow-moving inventory.
Here is how to build and maintain that assortment effectively:
- Survey employees before launch. Keep the survey under 10 questions. Ask about dietary preferences, preferred snack types, and willingness to pay. Short surveys get completed; long ones get ignored.
- Avoid product overload. More SKUs does not mean more sales. Too many options slow decision-making and increase waste from products that never sell. Start lean and add based on data.
- Track sales by slot. Most modern machines log sales by product position. Review that data monthly and replace the bottom two or three performers with new rotation items.
- Set a restocking schedule and stick to it. Irregular restocking is the fastest way to lose employee trust in the program. Empty slots signal neglect. For offices using the 5-unit-per-person benchmark, weekly restocking is typically sufficient for teams under 50.
- Assign a program owner. Delegating one internal person to oversee the vending program, field complaints, and communicate with the provider keeps the program responsive. Without this role, issues pile up unaddressed and usage drops within a quarter.
Key Takeaways
A successful office vending program requires matching machine capacity to employee count, preparing the site before delivery, and assigning a dedicated program owner to maintain engagement over time.
| Point | Details |
|---|---|
| Capacity benchmark | Use 0.4 daily purchases per employee to calculate the product slots you need. |
| Site preparation | Confirm a dedicated 120V circuit, 6×3 ft floor space, and floor load capacity before scheduling delivery. |
| Measure access routes | Check every doorway, hallway, and elevator on the delivery path to prevent day-of delays. |
| Product structure | Start with 12–20 core items plus 4–6 rotation items and adjust monthly based on sales data. |
| Assign a program owner | One internal point of contact keeps restocking and issue resolution consistent and fast. |
What I’ve learned from watching office vending programs succeed and fail
The programs that fail share one trait: nobody owns them. The machine gets installed, employees use it for a few weeks, a slot runs empty, and no one knows who to call. By the time the provider restocks, the habit is broken and foot traffic drops. Assigning a single internal owner for the vending program is not a nice-to-have. It is the difference between a program that runs for years and one that becomes a dusty appliance in the corner.
The second mistake I see consistently is skipping the site walkthrough. Office managers assume the machine will fit because the break room looks big enough. Then delivery day arrives and the machine cannot clear the elevator door by two inches. Measuring access routes takes 20 minutes. A failed delivery costs a full day and sometimes a rescheduling fee.
On the product side, the instinct to offer everything backfires. I have watched offices load 40 SKUs into a machine and then wonder why half the slots never sell. A tighter assortment with reliable restocking outperforms a wide selection with inconsistent availability every time. Start with what you know employees want, prove the program works, and expand from there.
The last thing worth saying: do not underestimate the signal a well-run vending program sends to your team. Employees notice when the machine is stocked, the products are fresh, and the payment system works. It is a small thing that reflects how much the organization pays attention to daily experience.
— Gary
Jeevesvending makes office vending setup straightforward
Setting up a vending program from scratch takes planning, and the logistics can pile up fast. Jeevesvending handles the full process for businesses in the Dallas-Denton region, from site assessment and machine selection to delivery, installation, and ongoing restocking, at no cost to qualifying businesses.
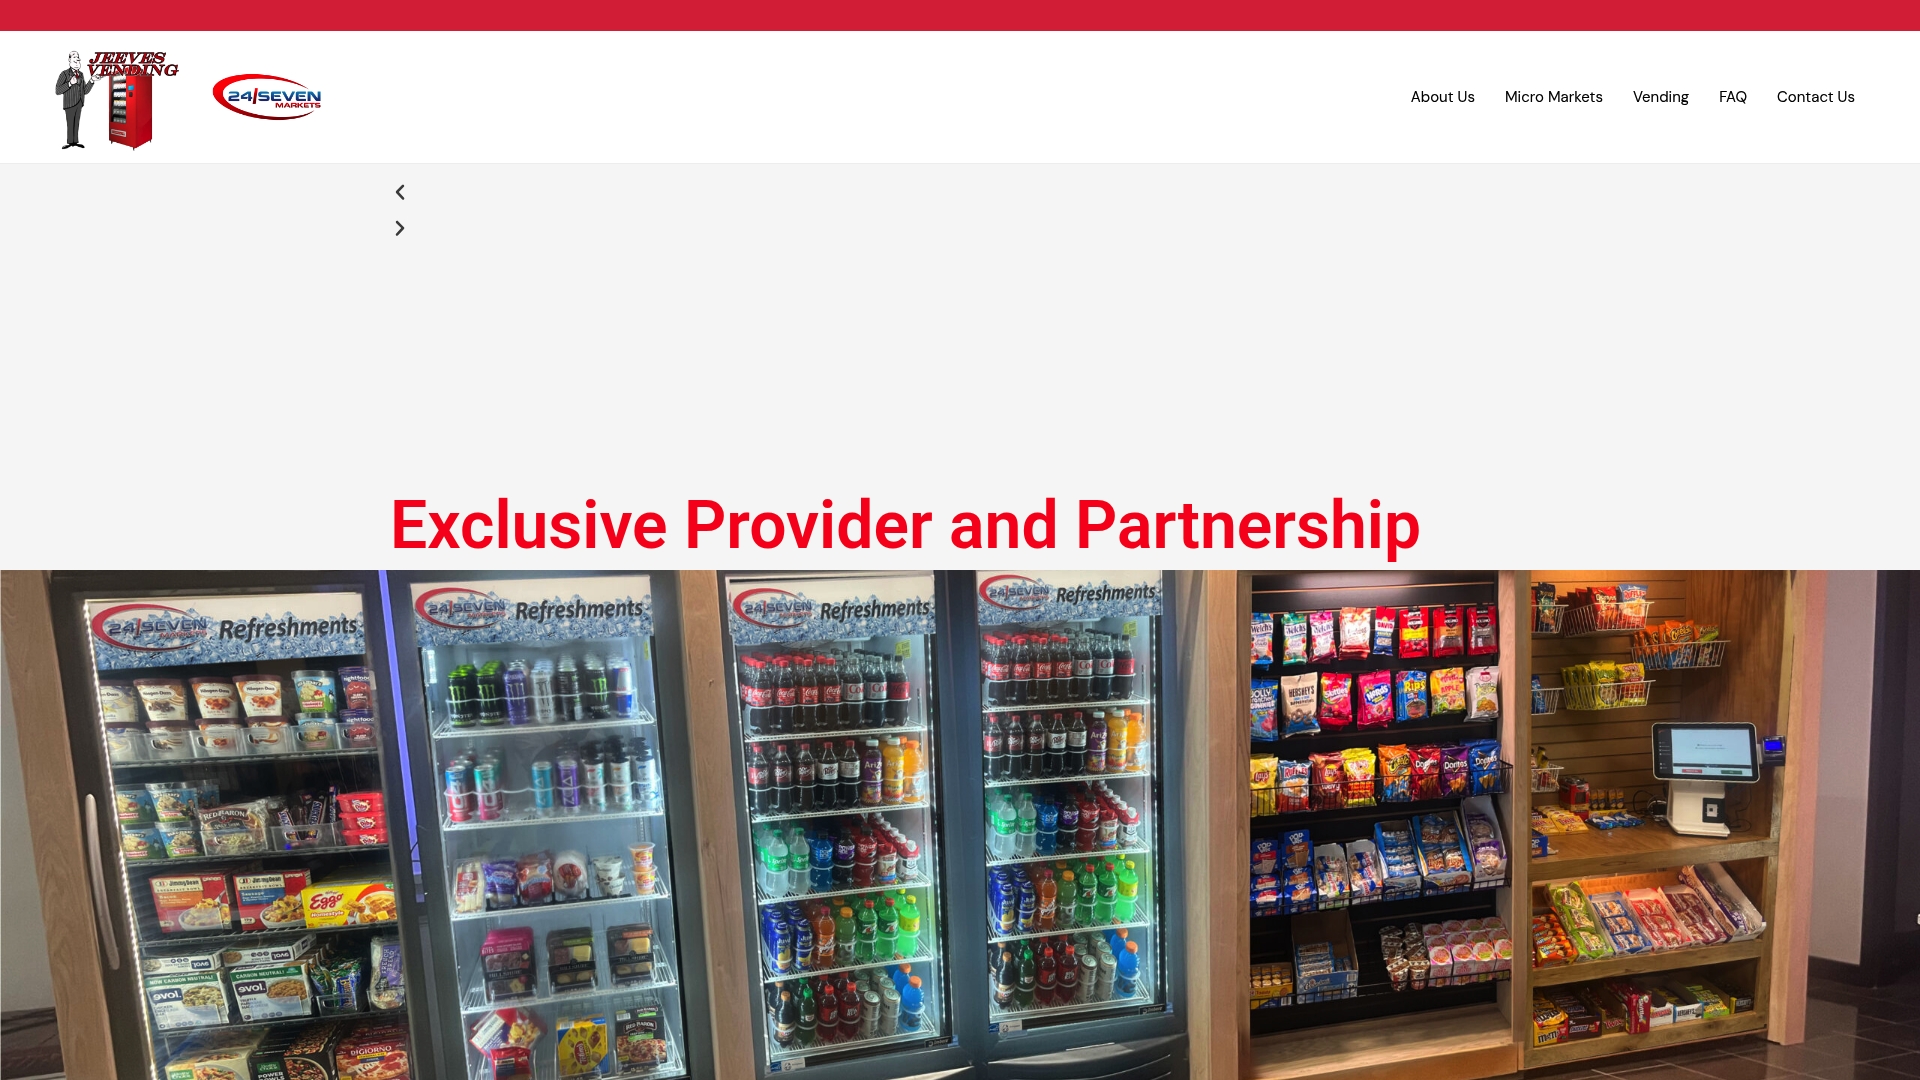
Whether your office has 20 employees or 200, Jeevesvending matches the right equipment to your space and usage patterns. Their team manages the full-service vending program so your HR team does not have to track inventory or coordinate repairs. For offices that need more than a single machine, Jeevesvending also installs micro-market solutions with self-checkout and a wider fresh food selection. Contact Jeevesvending for a free consultation and get your office vending setup moving.
FAQ
How do I calculate how many vending machines my office needs?
Use 0.4 daily purchases per employee as your baseline. An office of 50 employees needs machines with 100–150 product slots to support weekly restocking without running out.
What electrical requirements does a vending machine need?
Most full-size vending machines require a dedicated 120V, 15–20A grounded circuit. Sharing a circuit with other appliances causes performance issues and can void the machine warranty.
How long does vending machine installation take?
Professional installation typically takes 2–4 hours, covering delivery, positioning, electrical hookup, payment system configuration, and initial stocking.
What products should I stock in an office vending machine?
Start with a core assortment of 12–20 stable items and add 4–6 rotation items that change monthly. Aim for roughly 5 snack units per person per week as your volume target.
Do I need property management approval before installing a vending machine?
Yes. Most commercial leases require written permission from the property manager before placing equipment. Confirm approval and any building access requirements before scheduling delivery.