
A micro market makes sense once your site clears three bars: enough people to buy from it, enough clear floor space to host it, and power and network access nearby. If you’ve got 75 or more employees, roughly 100 square feet of usable space near a break area, and two dedicated electrical circuits available, the next move is simple: run the site checklist below or get a site survey scheduled before you spend another dollar on vending alternatives.
TL;DR:
- Sites require at least 75 employees, 100 square feet of space near a break area, and two dedicated electrical circuits to justify a micro market.
- A standard micro market typically needs 100 to 150 square feet, with layout visibility and accessibility as critical factors for revenue.
- Proper electrical and network setups, including dedicated circuits and cellular gateways, are essential for smooth operation and quick installation.
- Most failures happen due to rushed or incomplete site surveys that overlook doorway measurements and electrical capacity, not the product mix.
- Vendors like Jeeves Vending often offer micro markets at no upfront cost, focusing on site suitability and proper planning to ensure successful launch.
Table of Contents
- Is a Micro Market the Right Investment for Your Site?
- What Should Your Site Assessment Cover?
- What Electrical and Network Setup Does a Micro Market Need?
- How Should You Lay Out Equipment and Fixtures?
- What Does the Installation Timeline Look Like?
- How Do You Keep Restocking, Food Safety, and Security on Track?
- How Much Does a Micro Market Cost, and What’s the Payback?
- How Jeeves Vending Handles the Install Process
- What Micro Market Setup Costs Nothing With Jeeves Vending
- Why Most Micro Market Failures Trace Back to One Overlooked Step
- Sources
Is a Micro Market the Right Investment for Your Site?
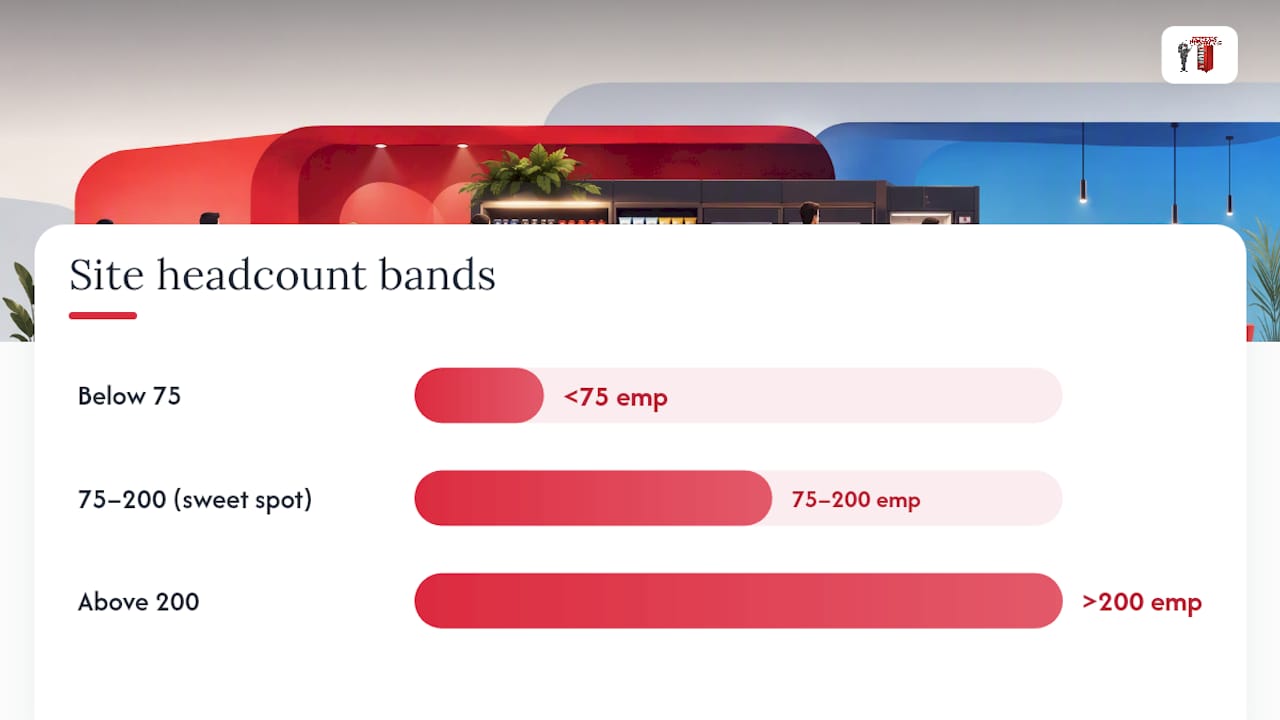
The math starts with headcount. Most operators consider 75 to 200 employees is the sweet spot for a standard micro market, and sites above 200 often justify a larger footprint with more coolers and a second kiosk. Below that range, a micro market can still work, but the product turnover may slow enough that a well-stocked vending lineup might serve the same population more efficiently.
What you gain by scaling up: variety, mostly. A single vending machine holds a fraction of what a micro market carries, while a full setup typically stocks 150 to 400 SKUs, including fresh sandwiches, salads, and grab-and-go items vending can’t handle. That variety changes how employees think about the space. It stops being “the vending machine” and starts being “the market.”
Beyond variety, the operational case is strong:
- 24/7 access without staffing a register or cafeteria line.
- Reduced staff impact, since restocking and maintenance shift to the operator.
- Data-driven restocking, where purchase and traffic data let operators fine-tune assortments over time instead of guessing.
- Lower disruption during install, since micro markets typically need no plumbing, grease traps, or kitchen buildout.
If your headcount is under 50, your space is landlocked, or your building already runs a subsidized cafeteria, vending machines or a smaller distributed vending setup usually make more financial sense than a full micro market build.
What Should Your Site Assessment Cover?
Before anyone measures a wall, walk the building with three questions in mind: Where do people already gather? Where does foot traffic pass without anyone routing there on purpose? And where would a delivery cart actually be able to get in?
Square footage depends on scale. Industry guidance generally breaks down like this:
- Minimal setup: 80 to 100 square feet, suited to smaller offices or satellite locations.
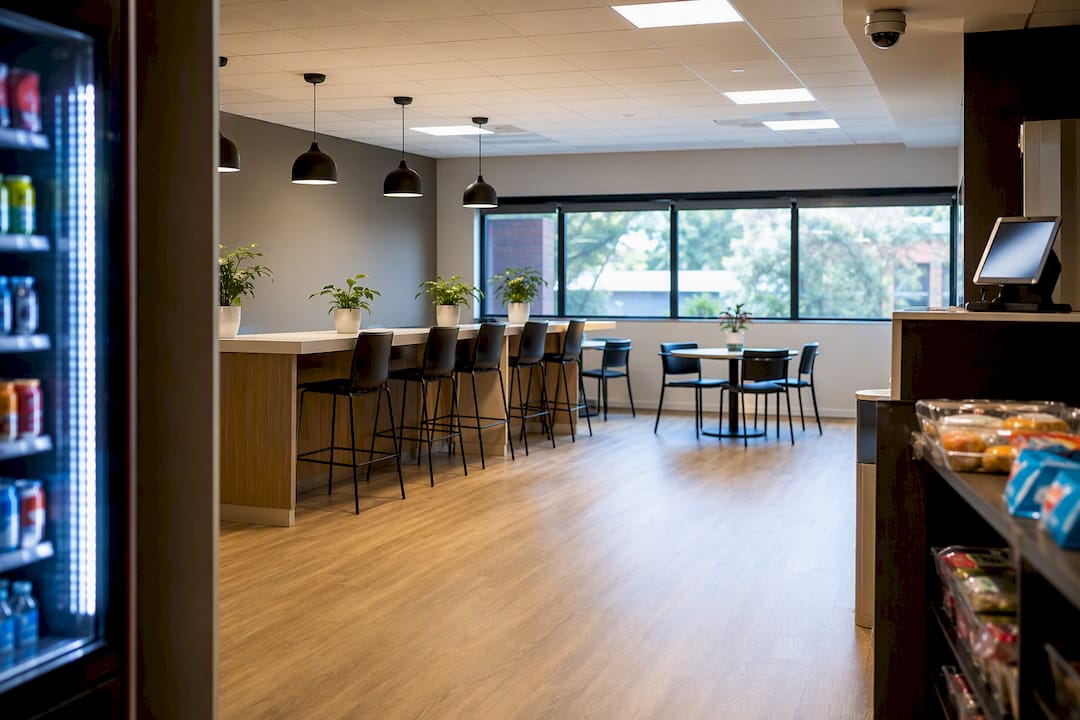
- Standard setup: 100 to 150 square feet, the most common configuration for mid-size offices.
- Full setup: 200 to 300+ square feet, appropriate for large campuses, hospitals, or multi-shift facilities.
Location matters more than square footage. A visible spot in a central corridor or main breakroom consistently outperforms a slightly larger footprint tucked into a dead-end hallway, because visibility and natural foot traffic drive revenue more than extra cooler capacity does. Avoid corners that require a detour, and never place the kiosk where a line would block a fire exit or main walkway.
Accessibility items belong on the same checklist, not an afterthought added later:
- ADA clearance around the kiosk and seating area (typically 36 inches minimum for wheelchair access paths).
- Kiosk touchscreen reach height within ADA-compliant ranges.
- Doorway widths sufficient for the largest cooler or shelving unit being delivered.
- A clear path for restocking carts that doesn’t cross customer queueing space.
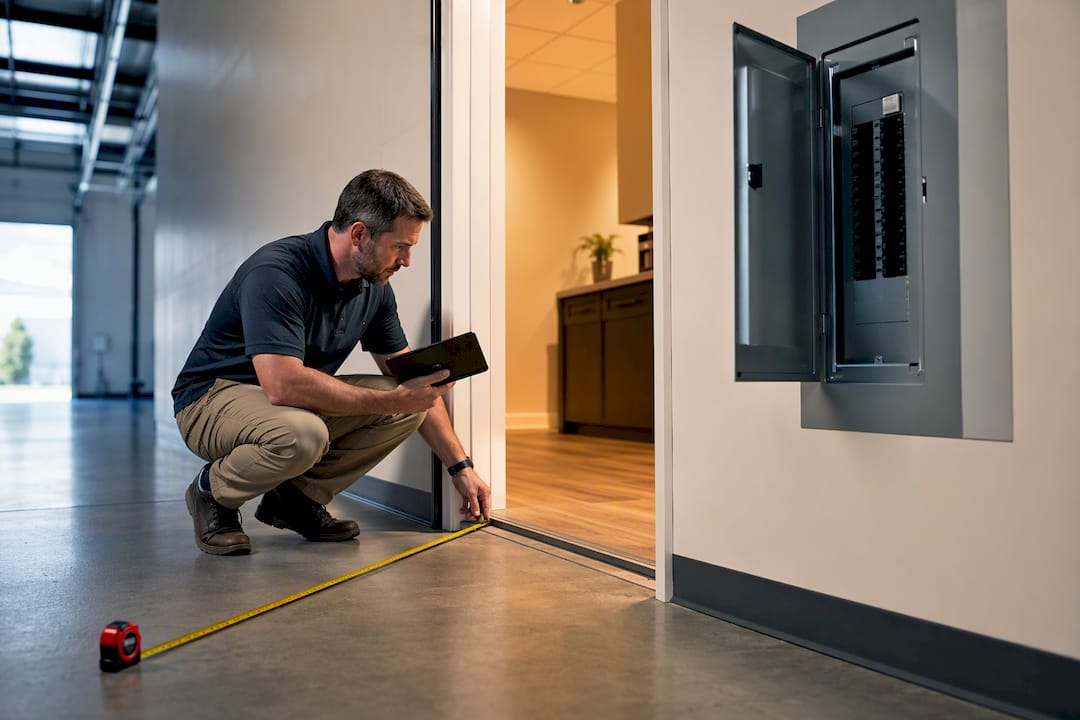
Pro Tip: Measure your narrowest doorway and your widest piece of equipment before you fall in love with a floor plan. A cooler that’s two inches too wide to clear a hallway turn can delay your launch by weeks while you source a slimmer model.
What Electrical and Network Setup Does a Micro Market Need?
Facilities teams should treat electrical provisioning as the first task, not the last. Typically, a micro market requires dedicated electrical circuits for refrigeration and kiosk equipment, with larger installations possibly needing additional circuits to handle extra appliances.
Network connectivity comes down to one choice. Most IT teams end up preferring a managed cellular gateway over dedicated Ethernet because it isolates market traffic from the corporate network entirely, sidesteps VLAN and DHCP configuration headaches, and gets a kiosk online without waiting on an IT approval cycle. Dedicated Ethernet can work fine where IT wants full control, but it usually means a longer lead time for network security sign-off.
Payment infrastructure is largely settled at this point. Expect:
- EMV-compliant card readers on the kiosk for chip and tap payments.
- Mobile wallet support (Apple Pay, Google Pay) as a near-default expectation from employees.
- Stored-value or employee-account options, useful for sites where an employer wants to subsidize purchases or track departmental usage.
One operational note worth flagging early: built-in kiosk technology captures purchasing and usage data that facilities teams can layer into building management systems, turning a snack purchase log into a rough proxy for occupancy patterns.
How Should You Lay Out Equipment and Fixtures?
The core equipment list is short, but the arrangement decides whether the market runs smoothly or creates a daily bottleneck. Expect to plan for:
- Refrigerated display cases for sandwiches, salads, and beverages.
- Open shelving for snacks, chips, and shelf-stable items.
- The kiosk itself, sized for self-checkout with a clear sightline from the entrance.
- Optional additions: a standalone freezer for frozen meals, or a coffee station if the site has enough traffic to justify it.
Layout works best when it respects two separate flows: how customers move through the space, and how a restocking cart moves through it. Design the aisle spacing so a cart can reach the coolers without reversing through customer traffic, especially during busy lunch windows when a stuck cart becomes an obstacle.
Place high-margin items, like fresh food and specialty drinks, at eye level near the kiosk where they get seen on the way to checkout. Keep the queue path unobstructed and wide enough for two people to pass. On security, camera coverage should include the kiosk area and cooler doors at minimum, with lighting bright enough that camera footage is actually usable rather than a formality.
What Does the Installation Timeline Look Like?
A realistic project runs about four weeks from first contact to launch day, broken into four phases:
- Consultation and site survey (week 1): measurements, electrical panel review, and headcount confirmation.
- Design and approvals (weeks 2 to 3): layout finalized, network strategy confirmed with IT, signage planned.
- Delivery and install (typically one day on site): equipment arrives, is placed, wired, and connected.
- Stocking, testing, and launch (week 4): initial inventory loaded, kiosk tested, soft launch to employees.
The bottleneck almost never happens on install day itself. It happens during the survey phase when nobody double-checked the basics. Confirm outlet locations against the equipment manufacturer’s cut sheets before install day, not after the cooler is already sitting in the hallway waiting for a working outlet. Doorway clearance is the second most common surprise, followed by IT network approvals that stalled because nobody looped in security review early enough.
Pro Tip: Send your electrical panel photos and doorway measurements to your installer during week one, not week three. Catching a narrow doorway or an overloaded panel two weeks early costs you nothing. Catching it on install day costs you a rescheduled truck and a delayed launch.
How Do You Keep Restocking, Food Safety, and Security on Track?
Restocking cadence depends on traffic, but most sites settle into either a weekly full restock or multiple lighter visits per week, with inventory audits layered on top to catch shrink or slow-moving SKUs. The appeal for a host business is that none of this restocking labor falls on internal staff. Operator-managed service means the operator handles the truck, the loading, and the inventory counts.
Food safety isn’t optional, and it isn’t complicated either if the basics are in place. Follow FDA guidance on temperature control and handling for any perishable item on display, keep temperature logs current, and make sure labeling meets standard expiration and ingredient disclosure practices. This matters more in a micro market than in a vending machine, because fresh sandwiches and salads carry real spoilage risk that packaged snacks don’t.
On shrink and security, the National Automatic Merchandising Association publishes operational guidance that most operators treat as the industry baseline for loss prevention. In practice, that means:
- Camera coverage on the kiosk and all cooler access points.
- Kiosk transaction reconciliation against physical inventory counts on a regular schedule.
- Access-control policies for sites with lower supervision, such as after-hours facilities or 24/7 shift operations, where badge access to the market area adds a layer of accountability beyond the kiosk’s own checkout logic.
How Much Does a Micro Market Cost, and What’s the Payback?
Cost splits into two buckets. Upfront costs cover install labor, seed inventory, and equipment if the host is purchasing rather than using a no-cost equipment model. Recurring costs cover transaction processing fees and the restocking visits themselves, both usually handled by the operator under a managed-service agreement.
Revenue is driven by three levers: headcount, product variety, and the convenience premium employees are willing to pay for not leaving the building. A site with 150 employees buying an average of two items a week generates a very different revenue picture than a site with 60 employees buying sporadically, and that difference is exactly why the 75 to 200 employee range functions as the practical threshold for a standard build.
The host-versus-operator cost model matters here. Under a no-cost equipment arrangement, the operator installs and maintains everything, and the host’s only “cost” is the physical space and utilities. Under a host-purchased model, the business owns the equipment outright but takes on maintenance responsibility and a larger upfront number. For most workplaces without an existing vending or facilities-equipment budget, the no-cost model removes the biggest barrier to trying a micro market at all.
How Jeeves Vending Handles the Install Process
A Jeeves Vending site survey looks at headcount, floor plan, and existing utilities before anything gets designed, because a layout built for a 60-person office doesn’t work for a 200-person distribution center. Layouts get customized by site type: schools need different queueing patterns than hospitals, and a gym’s peak hours look nothing like an office’s lunch rush.
Once installed, the managed-service model takes over. Remote monitoring flags low stock or equipment issues before they become a complaint, scheduled restocking keeps shelves full without host staff involvement, and service response happens fast when something needs attention.
Before your first consultation, have three things ready: rough square footage of the proposed space, your electrical panel’s available circuits, and an estimated headcount for the shift patterns using the space. Sites that show up with these details move from survey to installed market noticeably faster than those figuring it out mid-conversation.
What Micro Market Setup Costs Nothing With Jeeves Vending
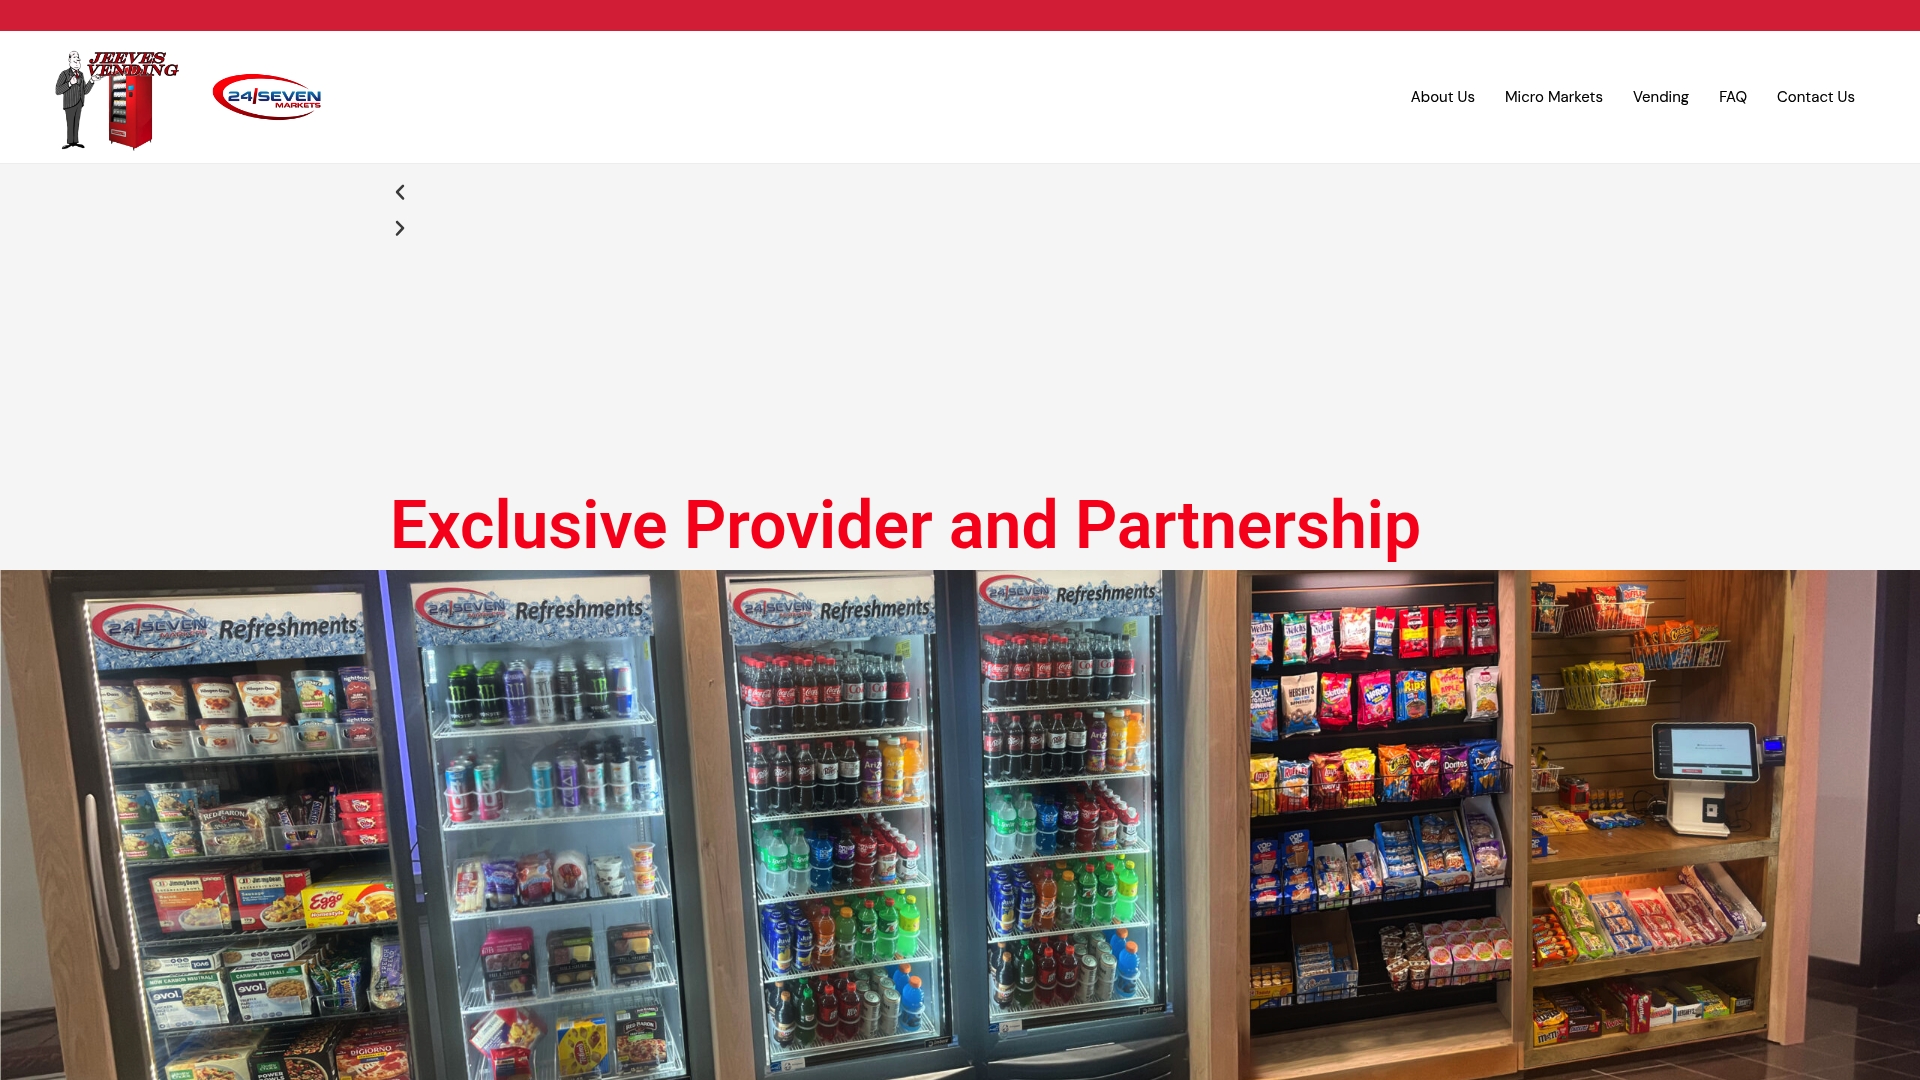
Some vendors install and manage micro markets at no upfront cost to the host business, which changes the calculation for any owner or facilities manager who assumed equipment costs were the barrier to entry. You get the kiosk technology, the refrigerated cases, the managed restocking schedule, and the remote monitoring, without a purchase order for coolers or a maintenance contract to negotiate.
Compare that to buying equipment outright: you’d be covering hardware costs, service contracts, and restocking logistics yourself, on top of the electrical and network work already required. Some service providers remove that side of the ledger entirely and still let you dictate product mix and layout preferences during the design phase.
If you’re ready to see whether your site qualifies, request a site assessment and have your square footage, electrical panel details, and expected headcount ready to share. For sites still deciding between a full market and a smaller footprint, the distributed vending setup guide breaks down when a smaller install makes more sense. When you’re ready to move forward, contact Jeeves Vending to get a survey on the calendar.
Why Most Micro Market Failures Trace Back to One Overlooked Step
Most people planning a micro market focus almost entirely on the product mix. Should we stock more protein bars or more fresh sandwiches? Should there be a coffee station? Those are real questions, but they’re not the questions that sink installations.
The failures I’ve seen traced through this research all point somewhere less exciting: the site survey got rushed, or skipped. Someone eyeballed the space instead of measuring doorway clearance against the actual equipment cut sheet. Someone assumed the existing electrical panel had room for two more circuits without checking. Someone picked a location because it had open floor space, not because it had foot traffic.
Here’s the uncomfortable truth about micro market setup: the parts that feel administrative, the electrical checklist, the doorway measurement, the network approval conversation with IT, are the parts that actually determine whether the launch happens on schedule. The product assortment is the fun part to plan, but it’s also the easiest part to fix after the fact. A narrow doorway that can’t fit your cooler is not something you fix after the fact. It’s something you find out about on install day, with a truck idling outside and a schedule that just fell apart.
The businesses that get this right treat the boring checklist items as the actual project, and treat the fun stuff, the branding, the product selection, the signage, as the layer on top. That ordering matters more than most first-time hosts expect.
— Gary
Sources
- How micro markets can support day-to-day building operations | Buildings
- Micro Markets – NAMA
- Micro Market Fit-Out: Space, Power, Network, and Security Checklist
- FDA guidance document