
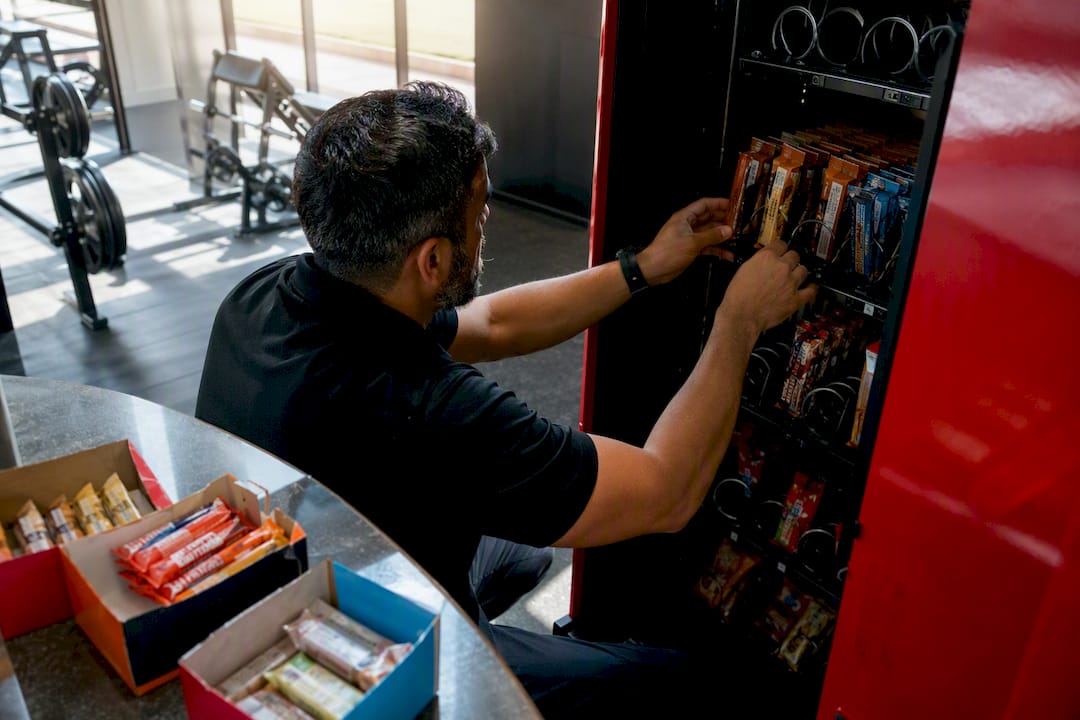
A vending planogram is a slot-by-slot map that turns restocking into a repeatable sales system. It records which SKU goes in every slot, how many facings it gets, its par level, and its vend price, so route techs stock the right items faster with fewer stockouts. Done right, it lifts impulse conversion and cuts wasted trips.
TL;DR:
- A well-designed planogram focuses on high-frequency SKUs, positioning top sellers in the golden zone and grouping similar items to boost impulse sales.
- Building an effective planogram requires measuring, photographing, and recording key product and slot details, with initial focus on high-volume machines for better results.
- Placement rules, such as keeping glass clean and respecting weight limits, significantly influence impulse conversion and reduce service issues.
- Par levels, pricing strategies, and restocking schedules should be based on actual sales data, not assumptions, to maintain optimal stock levels and minimize waste.
- Automated or software-based planogram tools are valuable for managing multiple locations, but regular human checks and updates remain critical for best performance.
Table of Contents
- What a Vending Planogram Records, and How It Looks
- How Do You Create a Planogram for One Machine?
- Placement Rules That Actually Drive Impulse Sales
- Setting Par Levels, Pricing, and a Restocking Cadence That Works
- Choosing Planogram Software Without Overbuying
- A Route-Ready Planogram Checklist Worth Printing
- What Most Operators Get Wrong About Their Own Planogram
- How Jeeves Vending Handles Layout and Restocking for You
- Sources
What a Vending Planogram Records, and How It Looks
Every functional planogram tracks the same core fields, whether it lives on paper or in software. A machine planogram records which product sits in each slot, the quantity it holds, and the price it sells for, and that record becomes the basis for every restock going forward.
Here’s what belongs in a complete planogram entry:
- Slot or selection ID — the physical row/column code printed on the machine
- SKU and UPC — so the item can be scanned, reordered, or matched to sales data
- Facings — how many spots the same product occupies side by side
- Par level — the target quantity to reach on every refill
- Vend price — what shows on the price label
- Notes — anything mechanical, like “narrow coil only” or “tall canister”
A printable version works as a laminated map taped inside the machine door. A digital version, usually a spreadsheet or a cloud file, links those same fields to actual sales and route history, which is what lets you spot a slow mover before it costs you a slot.
How Do You Create a Planogram for One Machine?
Building your first planogram doesn’t require special software. It requires a tape measure, a phone camera, and about 30 minutes at the machine.
- Measure and label every row and slot. Walk the machine’s interior and assign a consistent slot ID system, matching whatever numbering the machine’s control board already uses if it has one.
- Photograph the interior. One clear shot per row gives you a visual reference when you’re building the map back at the office or in the truck.
- Record SKU, description, UPC, and package dimensions. Package width and height determine which coil or shelf height a product can actually use.
- Set facings using recent sales. Give your top three sellers extra facings before you touch anything else; everything else gets the minimum that avoids a mid-week stockout.
- Set initial par levels. Start conservative for new items and adjust after two service cycles of real sales data.
- Assign vend prices on the map. Print peel-off price labels in batches so a route tech never has to write one by hand.
- Export or print a refill checklist. Attach it to the service ticket so the person stocking the machine isn’t guessing.
Pro Tip: Build the first planogram for your highest-volume machine, not your newest one. That’s where a bad slot assignment costs you the most money, and it’s the fastest way to see whether your facing decisions actually hold up.
Once one machine has a working template, cloning it for similar machines takes minutes instead of hours.
Placement Rules That Actually Drive Impulse Sales
Vending shares a core truth with grocery retail: what’s at eye level sells more than what’s at your knees. Placement rules and rotation matter enormously for maximizing vending sales, and skipping them is the single fastest way to leave money in the machine.
A few rules hold up across almost every location type:
- Golden zone first. Put your highest-margin, highest-turnover items in the two or three rows at eye and chest height, since that’s where a browsing customer’s eyes land first.
- Group by category, not randomly. Salty snacks next to salty snacks, drinks grouped by type, so a shopper’s second impulse buy sits right next to their first.
- Keep glass clean and labels centered. A crowded, smudged front row reads as “picked over” even when the machine is fully stocked.
- Respect the mechanics. Heavier bottled drinks belong in slots where the coil pitch and delivery chute can actually handle the weight, since a jam in a power-zone slot is worse than no product at all.
Operators who prioritize visibility, clean glass, and clear pricing tend to see better impulse conversion and less perceived staleness in the assortment, according to merchandising guidance from vending industry trainers. Package width and thickness also need to match the coil diameter and spacing your machine actually has, which is worth testing with physical samples before you commit an entire route to a new assortment, per product channel layout guidance for vending machines.
Setting Par Levels, Pricing, and a Restocking Cadence That Works
A planogram only pays off once it’s tied to real numbers. Par level, pricing, and restock timing are the three levers that turn a good layout into a profitable one.
- Compute par from movement, not gut feel. Take average units sold per visit cycle, add a buffer for demand swings, and that’s your target par.
- Price impulse items for speed, not margin maximization. Items near the golden zone can carry a slightly higher price than a discount rack would suggest, since convenience is what’s actually being sold.
- Price low-frequency items to move, not sit. A slow seller sitting at full margin for three weeks costs more in stale inventory than a small discount would.
- Pre-kit loads before leaving the hub. Bag each machine’s refill by slot number using the planogram as a packing list, which turns a 20-minute stock job into a 10-minute one.
- Track the small maintenance items. Burned-out lights, foggy glass, and curled price labels quietly kill conversion even when the assortment itself is perfect.
Restocking cadence tied to how quickly a location actually moves product, rather than a fixed weekly schedule, keeps par levels accurate and reduces both stockouts and overfill.
Choosing Planogram Software Without Overbuying
A spreadsheet is genuinely enough for a small fleet. If you’re running fewer than a dozen machines with a stable assortment, a simple template with slot IDs, facings, and par columns does everything a $50-a-month cloud tool would do, at zero cost.
Once you’re managing multiple locations or rotating SKUs frequently, a purpose-built tool starts paying for itself. Look for these features specifically:
- UPC import — so you’re not typing product data by hand for every new SKU
- 2D or 3D visual view — useful for training new route techs on a layout at a glance
- Sales heatmaps — cloud planogram tools with heatmap views let you see which slots are underperforming across an entire machine cluster
- Export and print functions — you still need a paper or PDF version for the truck
- POS or telematics integration — ties the planogram directly to real vend data instead of manual sales logs
Photo-driven and AI-assisted planogram generation has gotten genuinely useful. Tools that can generate a planogram from a shelf photo or PSA file and suggest facings from performance data cut setup time dramatically, and some 3D editors add margin and volume projections on top. The catch: automated suggestions still need a human check against your machine’s actual coil sizes and canister heights before they go live, since software doesn’t know your equipment’s mechanical limits the way a route tech does.
A Route-Ready Planogram Checklist Worth Printing
After years of installs and service calls, a few habits separate operators whose machines run smoothly from operators who are constantly firefighting.
Print a planogram with these fields on one page per machine: slot ID, SKU, facings, par, price, and a notes column for mechanical quirks. Pre-kit refill bags by slot number the night before a route, not the morning of. And run this maintenance check on every visit:
- Glass is clean and free of fingerprints or fog
- Interior and exterior lighting both work
- Price labels are legible and match the current planogram, not last quarter’s
- No slot shows a jam, empty coil, or product wedged sideways
A clear layout explanation of how a modern vending machine’s components work helps new route staff understand why slot assignments matter mechanically, not just visually. Getting these basics right consistently is what separates a route that runs on schedule from one that’s always catching up.
What Most Operators Get Wrong About Their Own Planogram
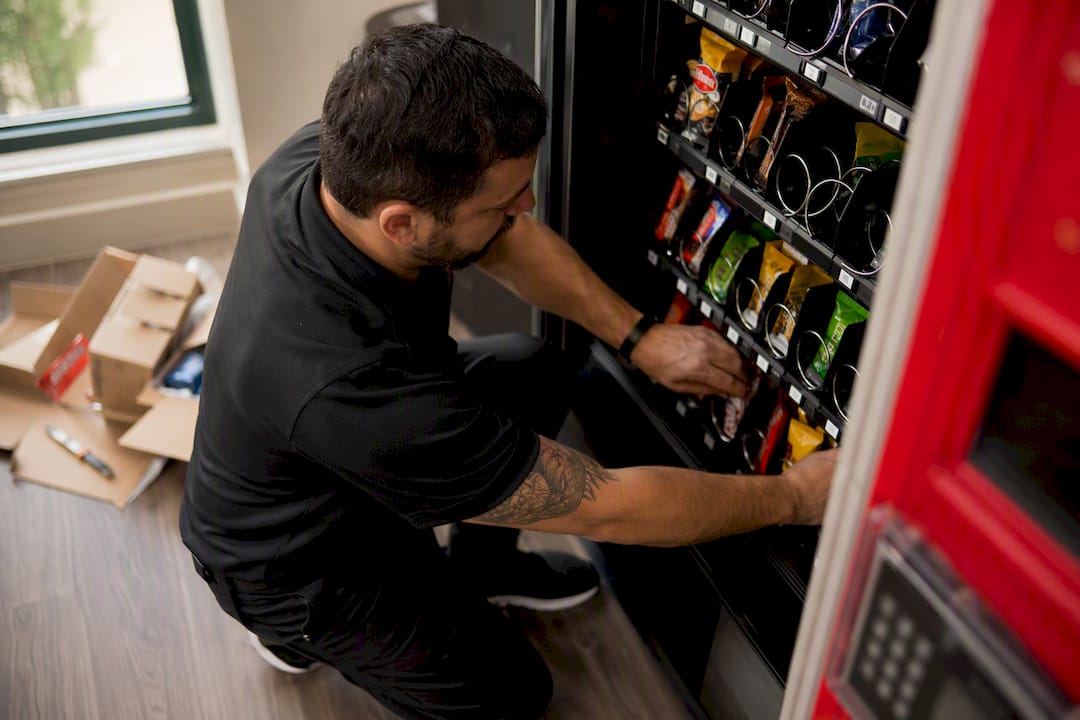
The most common oversight isn’t a bad layout. It’s a good layout nobody ever revisits. Operators build a solid planogram once, then let it calcify for a year while sales data quietly tells a different story.
Try this on your next service visit: move your single best-selling item into the golden zone if it isn’t already there, and leave everything else untouched. Check unit movement after two weeks. If that item doesn’t outperform its old slot, your golden zone assumptions need a second look.
— Gary
How Jeeves Vending Handles Layout and Restocking for You
If building and maintaining planograms across multiple machines sounds like more than your team wants to manage, that’s exactly the gap Jeeves Vending closes. Jeeves Vending installs modern machines and custom micro-markets at no cost to the host business, then handles the planogram work directly: slot mapping, pre-kitted route loads, remote stock monitoring, and ongoing merchandising adjustments based on real sales data.
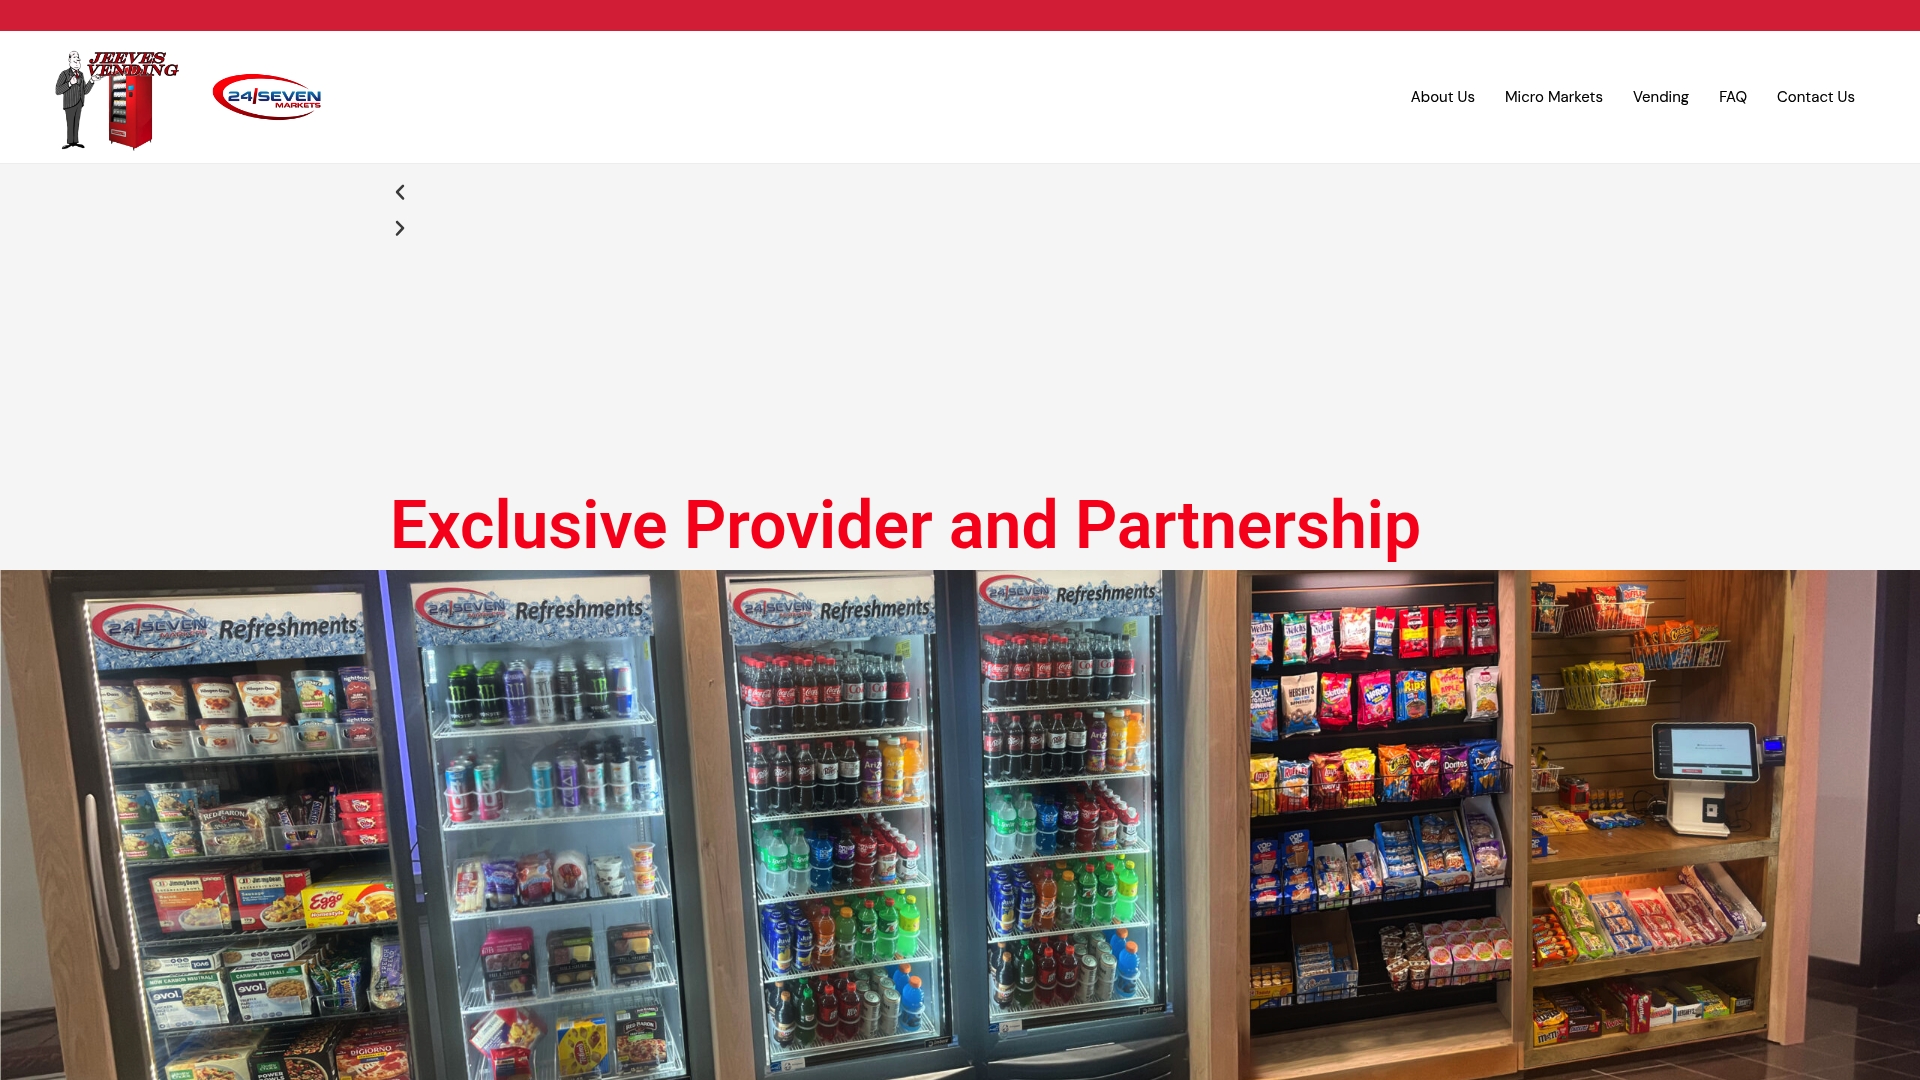
That means no spreadsheet to maintain, no route tech guessing which slot needs what, and no stale assortment sitting untouched for months. Jeeves Vending’s team handles the full-service program from installation through ongoing restocking, adjusting layouts as sales patterns shift at your location. If your business is in the Dallas-Denton region and you want a machine or micro-market that’s actually optimized from day one, request a site review and see what a properly merchandised setup looks like at your location.
Sources
For readers who want to go deeper: VendSoft’s guide covers how to set up a machine planogram field by field. PlanogramBuilder’s 3D planogram editor shows what margin and volume projection tools look like for larger fleets. AM Equipment Sales outlines common operator mistakes worth avoiding.
- Set up a machine planogram — VendSoft help
- How to plan a vending machine layout for maximum sales — AmericasCareerForce
- Merchandising for vending machine operators guide — The Vending Club