
A vending machine needs a small to modest amount of floor space for a compact unit or a larger area for a full-size machine once you account for access and ventilation. Before you approve any spot, verify three things: ample front clearance for restocking and sufficient rear ventilation space, and an unobstructed delivery path wide enough for the machine and a hand truck. If any of those three fail, the location fails, regardless of how good the foot traffic looks. The full walkthrough further down gives you the exact measurements to bring on-site.
TL;DR:
- Most vending machines require more space for access and ventilation than their cabinet dimensions suggest, especially for full-size models.
- Delivery and servicing challenges often stem from improper measurements of doorways, hallways, elevator capacity, and floor load, not the machine’s footprint.
- Placement should be based on factors like dwell time and repeat visits, with breakrooms generally outperforming lobbies regardless of foot traffic.
- Compliance with ADA standards requires a clear 30 by 48 inch space in front and a 60-inch turning radius, which can be adjusted with specific unit modifications.
- Site assessments must verify power access, delivery path clearance, ventilation, security, and structural capacity to prevent installation delays.
Table of Contents
- Machine Dimensions vs. the Real Space You Need
- Where Should You Actually Put a Vending Machine?
- What Do You Need to Check for Delivery and Servicing?
- How Do You Meet ADA Requirements for Vending Placement?
- Site-Audit Checklist for On-Site Measurements
- Planning Your Product Mix for Limited Space
- Keeping Machines Serviced and Secure Once They’re Placed
- Where Site Measurements Go Wrong in Practice
- Get a Site Proposal Built Around Your Actual Space
- Sources
Machine Dimensions vs. the Real Space You Need
The cabinet is not the footprint. That’s the mistake that trips up most property managers evaluating a spot for the first time, and it’s the single biggest cause of last-minute installation delays.
A full-size vending machine typically measures roughly 6 feet tall, with width and depth dimensions varying moderately between models. Compact and combo units require substantially less space, fitting comfortably in small areas like laundry rooms or breakrooms, which makes them a natural fit for laundry rooms, small breakrooms, or apartment common areas where a full-size cabinet would look and feel out of place, as Modern Amenities notes in its guidance on apartment building placements.
Here’s how to calculate what a machine actually consumes on your floor plan:
- Start with the cabinet width and depth (check the manufacturer spec sheet, not a guess).
- Add an appropriate amount of clearance behind the unit for ventilation. Refrigerated machines need airflow around the condenser or the compressor overheats and shortens the machine’s life.
- Add sufficient front clearance to allow for restocking access and tray pull-out, per vending industry installation guidance.
- Add a few inches of side clearance if the unit sits between walls or other equipment, so a technician isn’t wedging a dolly sideways.
Effective footprint example: a full-size snack machine measuring about 39 inches wide by 33 inches deep requires additional surrounding clearance, resulting in a larger effective footprint. That’s the number to plan around, not the cabinet spec sheet number.
Weight matters too. A fully stocked full-size machine can be quite heavy, requiring assessment of floor load capacity especially on upper levels. On a ground-floor slab, that’s rarely a concern. On a raised floor, a mezzanine, or an upper level of an older building, ask a structural engineer or facilities team to confirm the floor load rating before delivery day, not after the machine is already stuck in the loading dock. For a deeper look at how these specs translate into actual room requirements, see Jeeves Vending’s placement requirements overview.
Where Should You Actually Put a Vending Machine?
Traffic volume alone doesn’t tell you whether a spot will perform. Dwell time and repeat visits matter more, which is why a busy lobby often underperforms a modest breakroom.
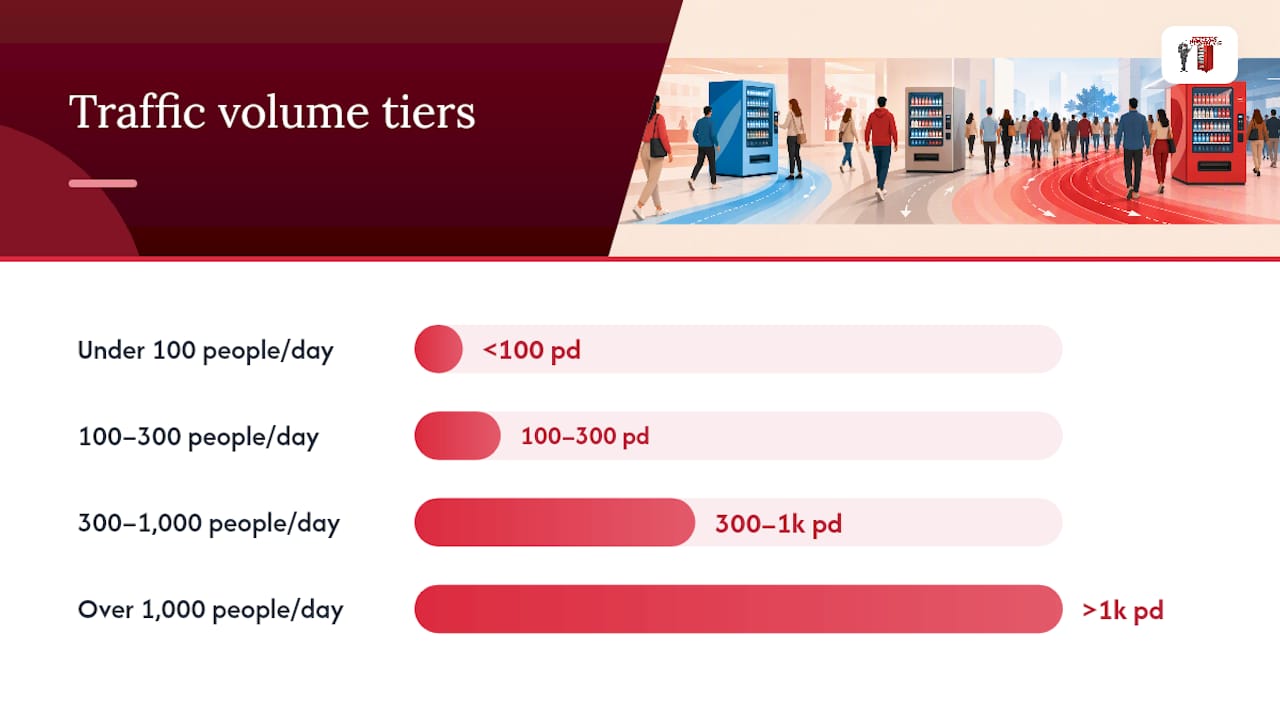
Rough traffic benchmarks to work from:
- Under 100 people per day: Low volume. Skip a full-size machine here unless it’s the only convenience option for miles, and even then, expect modest sales.
- 100 to 300 people per day: Marginal. A compact snack or beverage unit can work if there’s no nearby alternative.
- 300 to 1,000 people per day: Moderate to strong. This range supports a full-size combo machine or two separate units.
- Over 1,000 people per day: Strong candidate for multiple machines or a micro-market, especially in hospitals, large warehouses, or multi-tenant office buildings.
Breakrooms tend to outperform lobbies for a simple reason: the people using them are captive, and they come back daily. A lobby only wins when passerby volume is very high and there’s genuinely nothing else nearby, as research on vending site profitability confirms. Habitual buyers beat one-off foot traffic almost every time.
Run any candidate spot through five factors before committing: traffic volume, dwell time, proximity to competing options (a cafeteria down the hall kills demand), physical security, and how close power and delivery access sit to the proposed spot. A location that has good traffic but poor access should not be pursued until access concerns are resolved. Office decision-makers coordinating this across departments will find more on stakeholder buy-in in Jeeves Vending’s office setup guide for HR teams.
What Do You Need to Check for Delivery and Servicing?
A spot that seems appropriate on paper can still fail due to delivery logistics issues. Route logistics kill more installations than square footage does.
Walk the actual delivery path before you approve anything:
- Measure every doorway the machine has to pass through. Add 2 inches of clearance beyond the machine’s width, and check tight corners or narrow hallways where a straight measurement won’t tell the whole story.
- Verify elevator weight capacity and cab depth if the machine is going above ground level. A machine that’s 36 inches deep won’t fit in a cab that’s only 34 inches from door to back wall, no matter what the weight rating says.
- If the elevator is too small, ask whether the vendor can disassemble the unit for transport or whether a freight elevator exists elsewhere in the building.
- Confirm on-site staging space near the install point, plus reserved parking or a loading zone for the delivery vehicle.
- Ask about floor protection for finished surfaces. Hand trucks and dollies chew up polished concrete and hardwood fast.
- Check for service-hour restrictions. A building that locks its loading dock at 5 PM complicates deliveries scheduled for a standard workday.
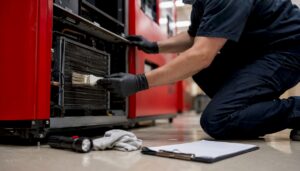
Refrigerated units require adequate rear clearance for condenser airflow and sufficient front space for tray pull-out during restocking, according to installation space guidance from DFY Vending.
How Do You Meet ADA Requirements for Vending Placement?
ADA compliance isn’t optional, and it’s cheaper to verify during the site visit than to retrofit after installation. The core numbers are fixed and easy to check with a tape measure.
- Clear floor space: 30 by 48 inches directly in front of the machine’s controls, unobstructed.
- Reach range: operable parts (payment readers, buttons, selection pads) between 15 and 48 inches above the finished floor.
- Turning radius: 60 inches where a wheelchair user needs to approach from the side or turn to leave.
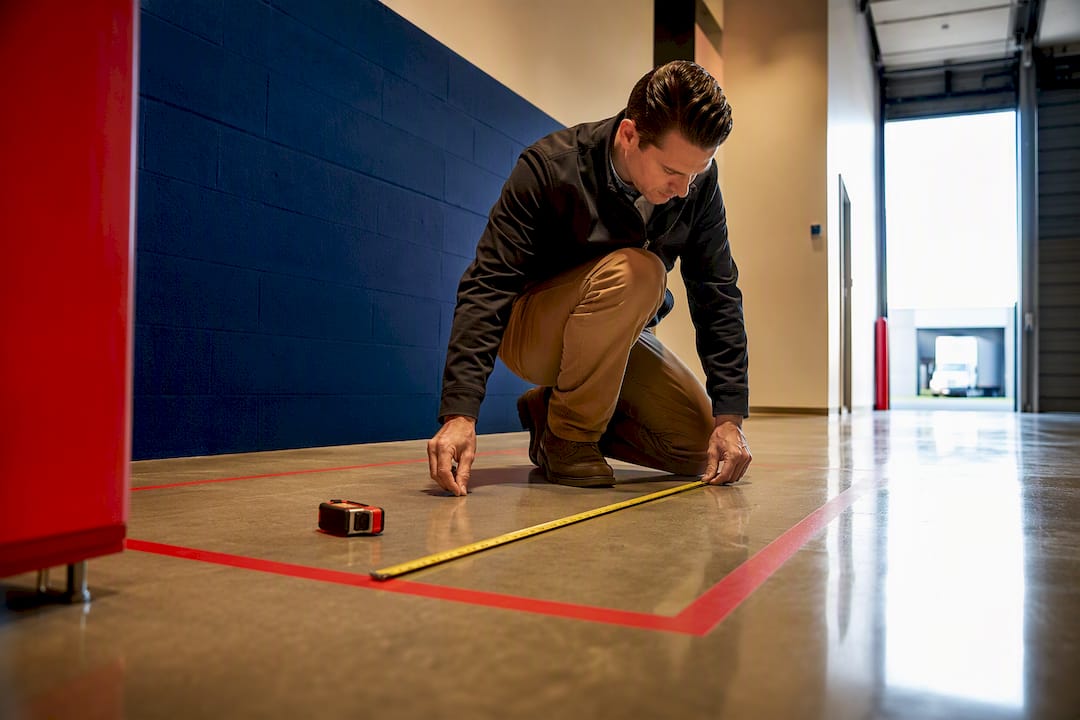
Test this quickly during a walkthrough: tape off a 30 by 48 inch rectangle in front of the proposed spot and check nothing intrudes into it. Use a portable marker or cone to simulate a 60-inch turning circle if the approach isn’t a straight shot.
Tight sites still have options. Angling the machine slightly, choosing a unit with a lower-mounted payment reader, or relocating tactile signage a few inches can resolve a marginal clearance issue without abandoning the spot entirely.
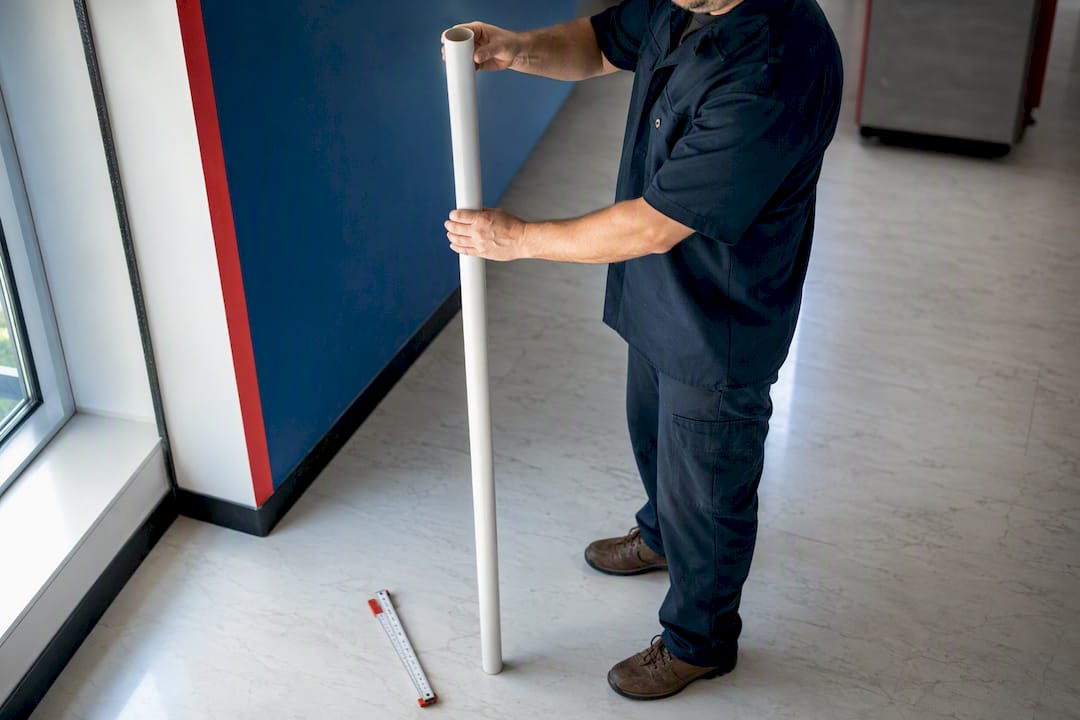
Pro Tip: Bring a 5-foot length of PVC pipe or a folding rule on every site visit. It’s faster than a tape measure for checking reach heights and won’t sag when you’re measuring vertically.
Site-Audit Checklist for On-Site Measurements
A four-pillar readiness audit, covering power, space, access, and audience, catches most problems before they become installation-day surprises, based on the location readiness framework used across the vending industry.
| Checklist Item | What to Verify |
|---|---|
| Power outlet | Grounded outlet within 3 to 6 feet, dedicated circuit if possible |
| Circuit capacity | Confirm breaker isn’t shared with high-draw equipment |
| Machine footprint fit | Effective footprint (cabinet plus clearances) fits the space |
| Door and delivery path | Doorway width, hallway turns, path clear of obstructions |
| Elevator capacity | Weight rating and cab depth confirmed if above ground floor |
| Ventilation clearance | 4 inches rear clearance for airflow |
| Floor load | Structural rating confirmed for raised or upper floors |
| Lighting and security | Adequate overhead lighting, camera coverage if available |
| Building approvals | Property management or facilities sign-off obtained |
Before delivery day, ask facilities to confirm the outlet is installed and live, staging space is clear, and lighting works. A placement proposal should also spell out insurance coverage, the term of placement, access hours for servicing, and any revenue-share terms, so nothing gets negotiated after the machine is already on-site.
Planning Your Product Mix for Limited Space
Space constraints shape merchandising decisions just as much as they shape the machine itself. A smaller footprint means fewer slots, so every one has to earn its place.
- Allocate slots by sales velocity: your fastest-moving three or four SKUs deserve the most visible rows, at or near eye level.
- Rotate seasonal items into low-performing slots rather than letting them sit as permanent fixtures.
- Balance snacks against beverages based on the site. An industrial warehouse with physical labor skews toward drinks and hydration; an office breakroom often splits closer to even.
- Reassess the mix quarterly. A planogram that worked in January can go stale by summer.
Combo machines make sense for smaller populations that need variety without a large footprint. Separate snack and beverage units make more sense once daily traffic climbs high enough to justify the extra square footage. A simple planogram diagram, even sketched on paper, helps during landlord sign-off, and digital tools like the GoJS vending planogram sample show how operators visually map SKUs into slots to cut down on restock errors. For sites outgrowing a single machine’s SKU count, a micro-market setup can cover more product variety in a similar or larger footprint. Details on machine types and product categories are covered in Jeeves Vending’s machine explanation guide.
Keeping Machines Serviced and Secure Once They’re Placed
Placement decisions don’t end at installation. Where you put a machine determines how often it needs restocking and how vulnerable it is to theft or vandalism.
- High-traffic sites (over 300 visitors daily) often need restocking two to three times a week; low-traffic spots may only need weekly visits.
- Good visibility and an accessible path for the restocking technician cut service time noticeably, especially in warehouses with irregular layouts.
- Bright overhead lighting and CCTV coverage deter tampering more effectively than any lock upgrade.
- Anchor machines to the floor or wall in high-risk areas, and choose outdoor-rated cabinets for any exterior placement exposed to weather.
- Spell out access terms in the placement agreement: badged entry requirements, service-hour windows, and whether a technician needs an escort.
Pro Tip: If a location requires badge access for every visit, ask facilities for a standing visitor badge for the vending technician. It shaves real time off every restock and avoids scheduling bottlenecks.
Where Site Measurements Go Wrong in Practice
The most common mistake is measuring the cabinet and stopping there. Door swing, rear ventilation, and tray pull-out space get forgotten until delivery day, and by then it’s too late to fix cheaply. The second most common mistake is skipping a structural check on upper floors. A machine that weighs 800 pounds fully stocked is a different conversation on a mezzanine than it is on a slab.
Jeeves Vending validates a site before committing to it: remote photos first, a short on-site audit second, then a proposal built around the exact measurements that spot requires. That sequence catches problems before they become installation delays.
— Gary
Get a Site Proposal Built Around Your Actual Space
Jeeves Vending installs and manages vending machines and custom micro-markets at no upfront cost to your business, which means the measuring, the planning, and the equipment risk sit on Jeeves, not on you. Instead of piecing together your own clearance math and hoping a machine fits, you send us the space and we send back a proposal built around it.
That proposal covers machine sizing, expected placement, and service terms, all matched to what your walkthrough actually found. If you’ve already run through the checklist above, measured your delivery path, and confirmed your power outlet location, you’ll get a faster, more accurate proposal because there’s less back-and-forth needed on our end. Bring those measurements when you reach out. Explore the modern machine and smart cooler options available for your space, or if your site has room for more variety than a single machine allows, ask about a managed micro-market instead. Ready to move forward? Contact Jeeves Vending to request a site audit and get a proposal built around your specific space.
Sources
- Vending Machine Dimensions – Complete Size & Measurement Guide
- Vending Machine Setup: How Much Space Do You Really Need?
- GoJS vending planogram sample